
Why should you can tomatoes? BECAUSE canning tomatoes of your own gives you control over chemicals/sodium and you control the freshness!
As an avid foodie and lover of cooking, I try to make as much food as possible from scratch. Even though one of my guilty pleasures is chicken nuggets…homemade food is not only healthier but tastes better. As a poor college student though, I had to compromise on some meals to stay within budget. AUGH! So, I resorted to buying canned spaghetti sauce because it was cheap and made several meals. It became a habit and even after I got a good job, I continued to buy canned spaghetti sauce.
Several years ago, I realized not only how fun it was but how it tastes better to make marinara spaghetti sauce from scratch. This, however, requires a lot of fresh tomatoes but living in the Midwest finding flavorful tomatoes year-round is difficult and while cans of tomatoes from the grocery store are fine, they still tend to have the taste of tin. I needed a better option. That is when I tried canning tomatoes of my own.
In the Midwest farmers, markets are full of fresh, bright red tomatoes starting in mid-late summer. It’s a perfect time to stock up and start canning tomatoes for the year. While it may be a little more expensive (I’ve never actually calculated cost) these tomatoes have much better flavor than any I’ve ever bought at the grocery store. An added benefit is I’m supporting a local farmer and small business.
Let’s get started!
This article may contain affiliate links. When you click these links, I may get a small commission. This does not cost you anything but helps me run this site. I only promote products I have used and enjoy.

Supplies:
- Boiling-Water Canner
- Canning Rack
- Jars
- Lid/Screw Bands
- Tomatoes
- Funnel
- Frying Pan
- Tongs
- Paper Towels
- Towels
- Jar Lifter
- Blendar/Food Processor (needed if canning pureed tomatoes)
- Large Bowl
- Pairing Knife (required if removing skin)
- Stock Pot
- Heat resistant measuring cup or scoop
- Lemon Juice
- Measuring Spoon
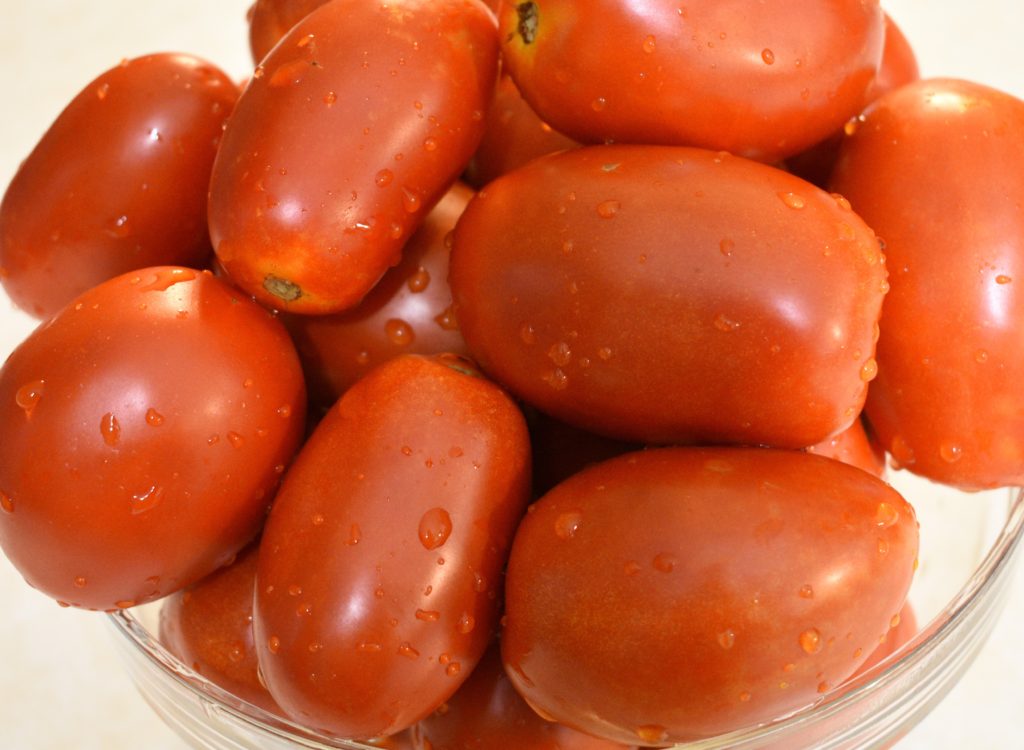
Pick the Right Tomatoes:
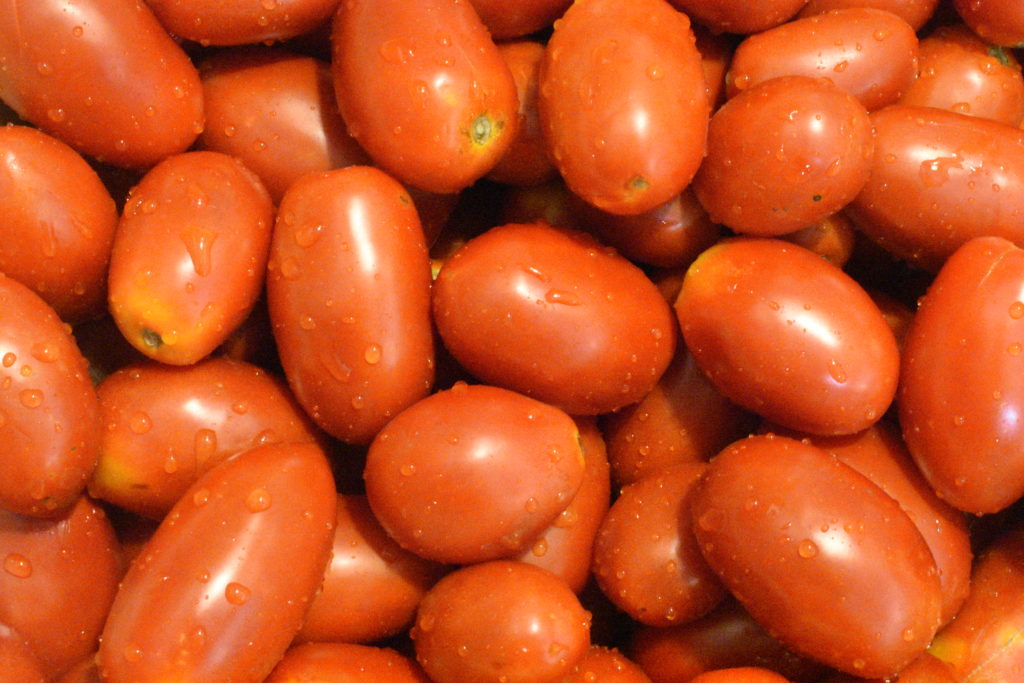
Ok, so there is not really a right or wrong variety of tomato. There are over 15,000 known varieties of tomatoes. I cannot claim to have tried them all but I do prefer the various varieties of Roma tomatoes. If you have access to San Marzano buy them! I’ve never seen them available in my area but all varieties are delicious in cooking. I also like other varieties like Big Mama or Beefsteak but when canning tomatoes the most important part is to buy the tomatoes you like to eat. Select tomatoes that are firm, heavy for their size, and smell sweet. When canning tomatoes, do not be afraid of a few small blemishes but avoid tomatoes with large bruises, wrinkled skin or have a slightly bitter smell.
Wash the Jars, Lids, and Bands:
Much like having clean tomatoes the jars, lids, and screw bands MUST be clean!! These need to be washed with warm soapy water. On a side note, you can reuse jars and screw bands but the lids MUST be new or they will not seal properly. Once cleaned, place the jars, lids, and screw bands on clean towels to air dry.
Prep the Tomatoes:
An important part of canning tomatoes is making sure everything is clean. Bacteria is the enemy of canning. I can at best spoil the food quicker and at worse cause illness when you consume. Washing everything very well is important. Before I wash the tomatoes, I always clean the sink (including the sink strainer) with vinegar. I try not to use chemicals as any residue may leach into the tomatoes. Rinse all of the tomatoes under cool water to remove any dirt. Then gently rub to make sure any pesticides or residue is removed.
Should you leave skins on or remove them….
The answer is; it’s a personal preference. I choose to leave the skins on as they have a lot of flavor and vitamins. I also prefer to can pureed tomatoes so the skins blend in. If you want to can crushed, diced or whole tomatoes you may want to remove the skins.
Variation: If you want to leave the skin on, skip this step and proceed with the next step. Once the tomatoes are washed, use a paring knife to cut a small X in the bottom. Cut off the stem end and set it aside.
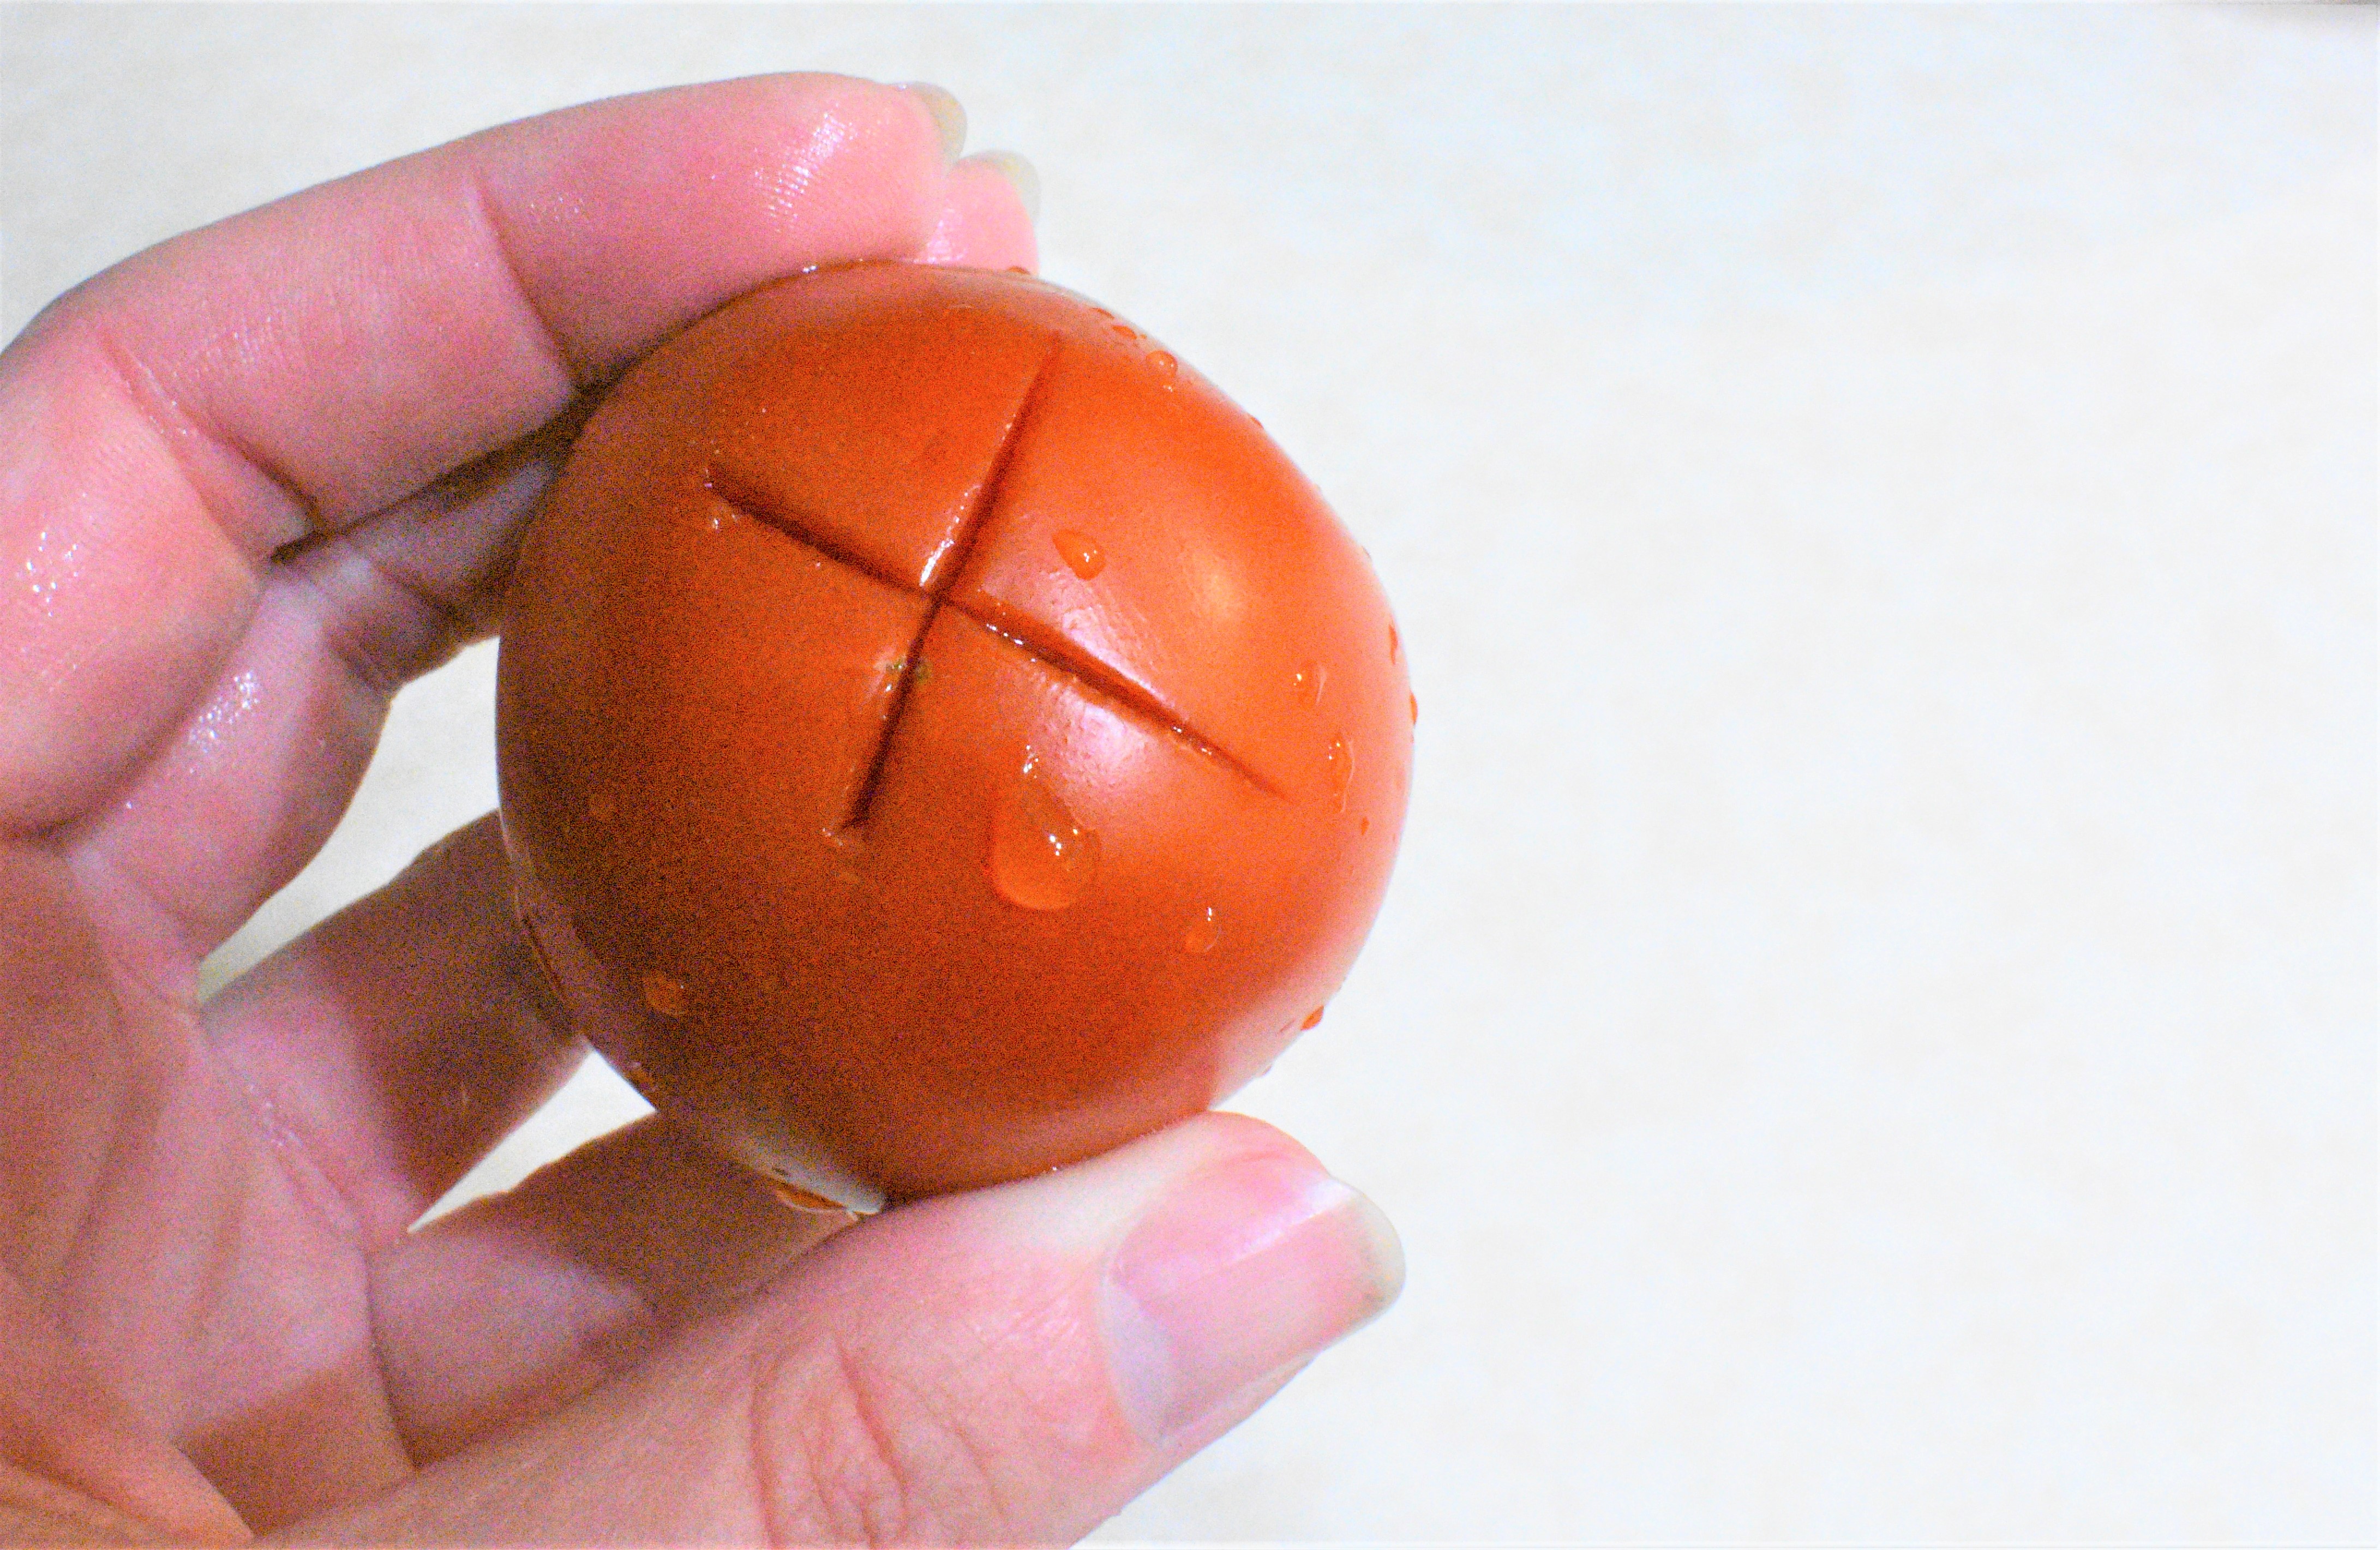
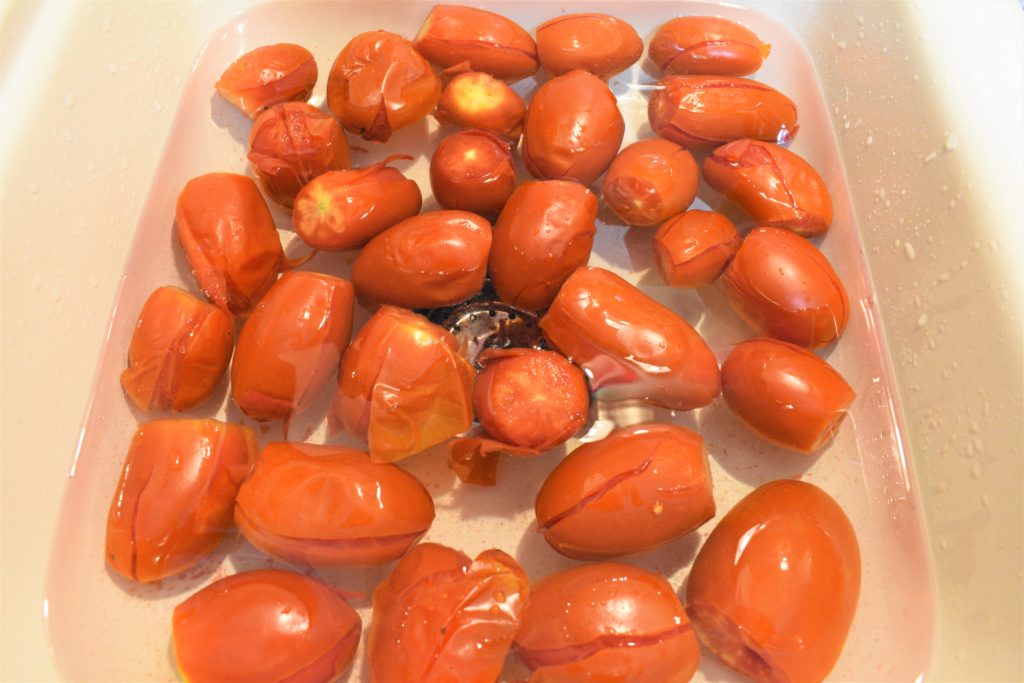
This will allow the skins to be removed once blanched. Fill a pot about halfway with water and bring to a boil. Once boiling put the prepared whole tomatoes in the water. Boil until you see the skins starting to pull away from the tomato flesh.
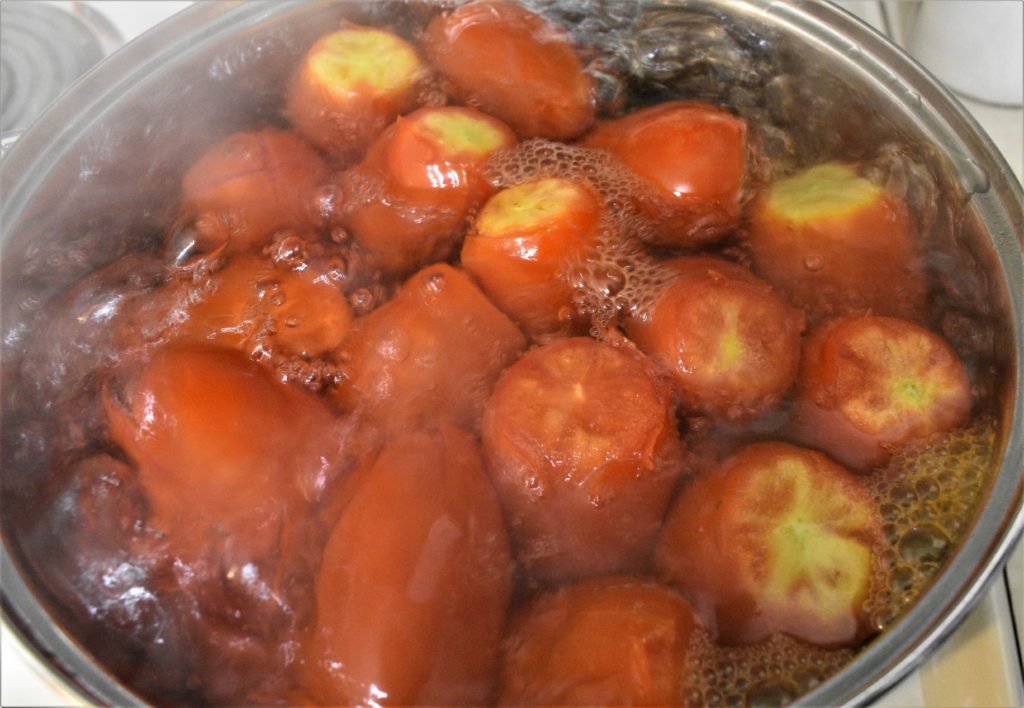
Remove from the water and put into an ice water bath. Since I can a lot at one time, I fill my clean sink with ice water but you can do this in small batches using a large bowl of ice water.
Cut, Dice, Smash, or Puree:
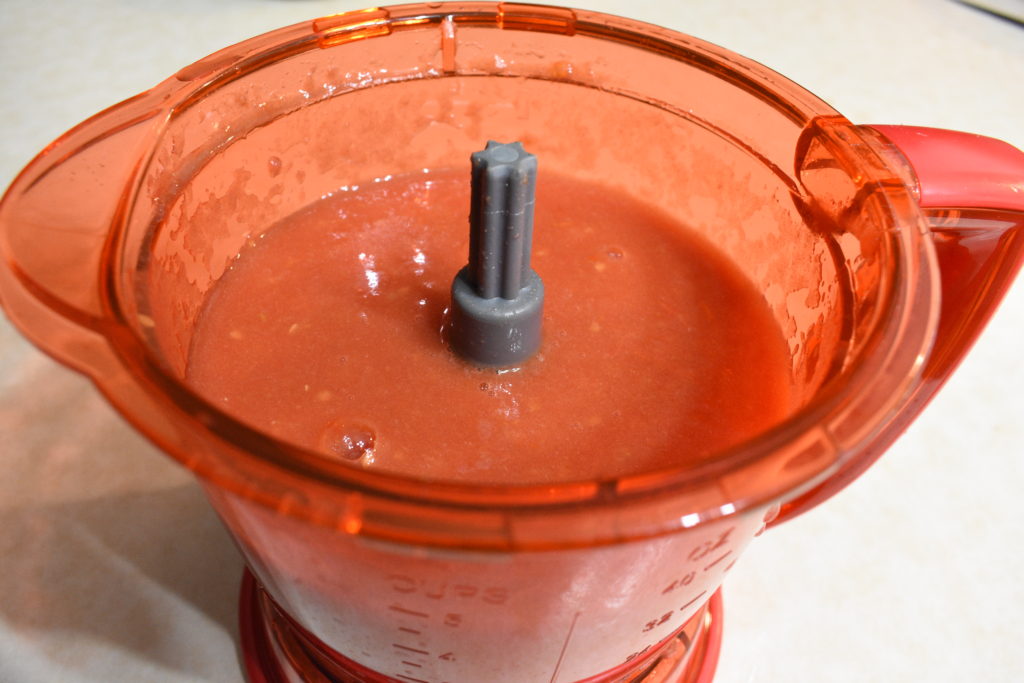
At this point, you need to decide how you will use the tomatoes. I personally use pureed tomatoes most often. Place tomatoes into a blender or food processor and blend until smooth.
If you prefer crushed tomatoes, place the peeled tomatoes in a large bowl and use your hands to gently break up the tomatoes.
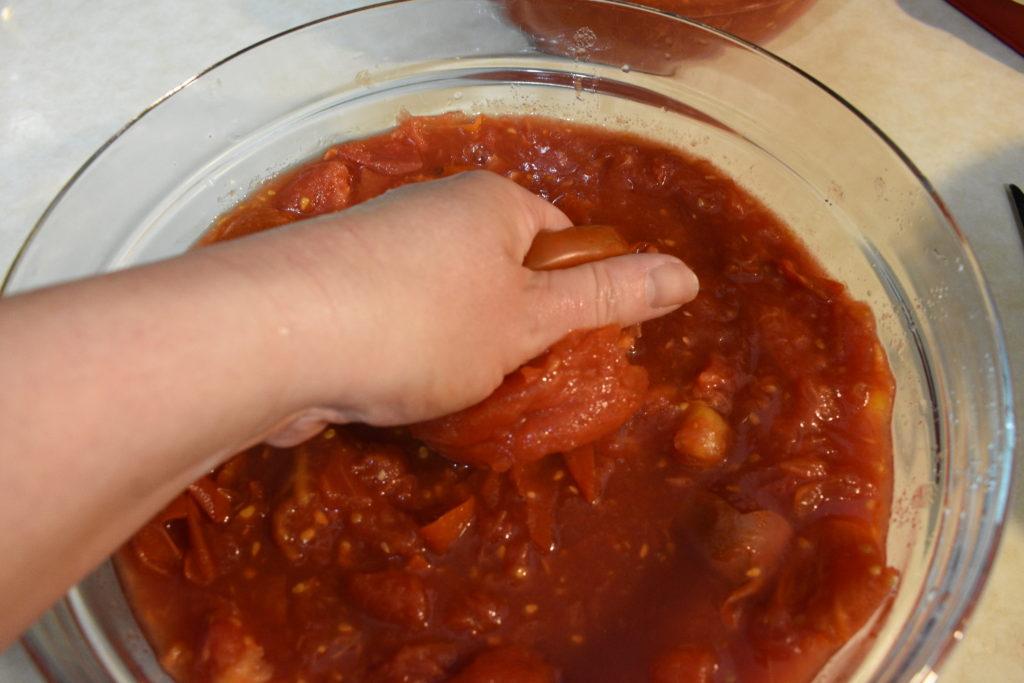
It can be messy so wear an apron or old clothes during this process, you will thank me!!
Heat the Tomatoes:
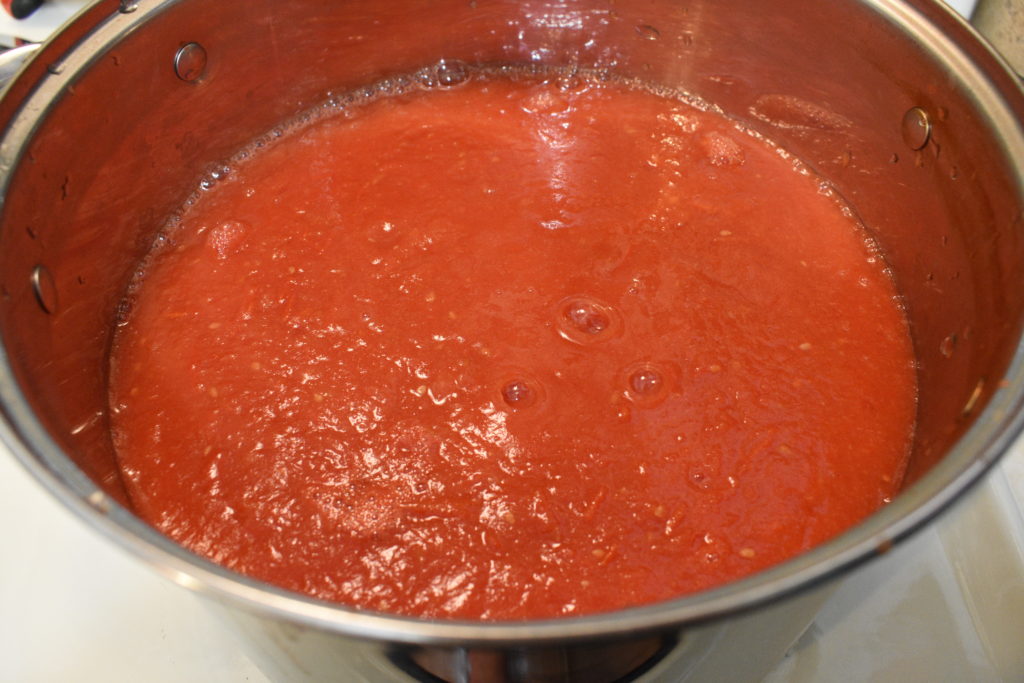
Place the tomatoes in a stockpot and bring to a boil. If canning crushed or diced tomatoes boil for about 5 min before you start to fill the jars. I however like to cook down my pureed tomatoes to a thicker consistency. Boil until desired consistency, stirring frequently. A pink foam will form as the tomatoes cook. This is normal but watch the pot carefully as it will boil over quickly. The thicker the sauce the increased likelihood of getting a burn. As the bubbles pop, they will splatter. At a minimum, you will have a mess to clean up but you can burn yourself if the hot tomatoes splatter on your skin. Be extra careful when reaching over the pot or stirring.
Prep your Workspace:
While the tomatoes are heating prep your workspace. Once you are ready to start filling jars you will need to work fast. Gather canning supplies: paper towels, funnel, lemon juice, measuring spoon, and heat resistant measuring cup. Fill the hot-water canning pot half full with water, place it on the stove, and turn the heat on high. Make sure the canning rack is in the pot. This will keep the jars off the bottom of the pot (they may burst if they get too hot) and will help keep the jars upright when boiling. Place the empty, clean jars upside down over the water. This will steam clean the jars but also heat them which helps the lids seal.

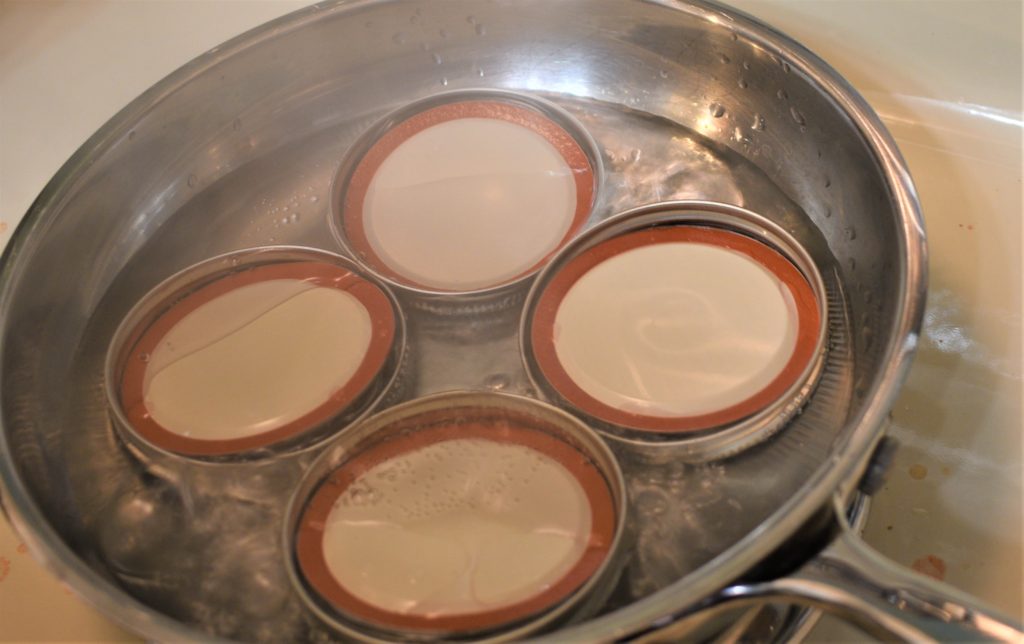
Fill a frying pan with about 1.5 inches of water to heat and serialize the lids and screw bands. Place on the stove between medium-low and medium. DO NOT BOIL! It will ruin the rubber seal on the lid.
Fill the Jars:
Once the tomatoes are boiling and at the desired consistency, it’s time to fill the jars. I learned the hard way the importance of a funnel when I’m canning tomatoes. I was trying to save some money on supplies and thought the canning funnel would be a waste of money. I held the jar secure while trying to fill it with boiling tomatoes from a glass measuring cup. At the time I canned crushed tomatoes and a bigger piece missed the mouth of the jar and landed on my hand. I had second-degree burns on the back of my hand and pointer finger. The next day I bought the funnel. I have not burned my hand again since but have burned my arm stirring the pot. I cannot say this enough, BE CAREFUL with the boiling tomatoes.
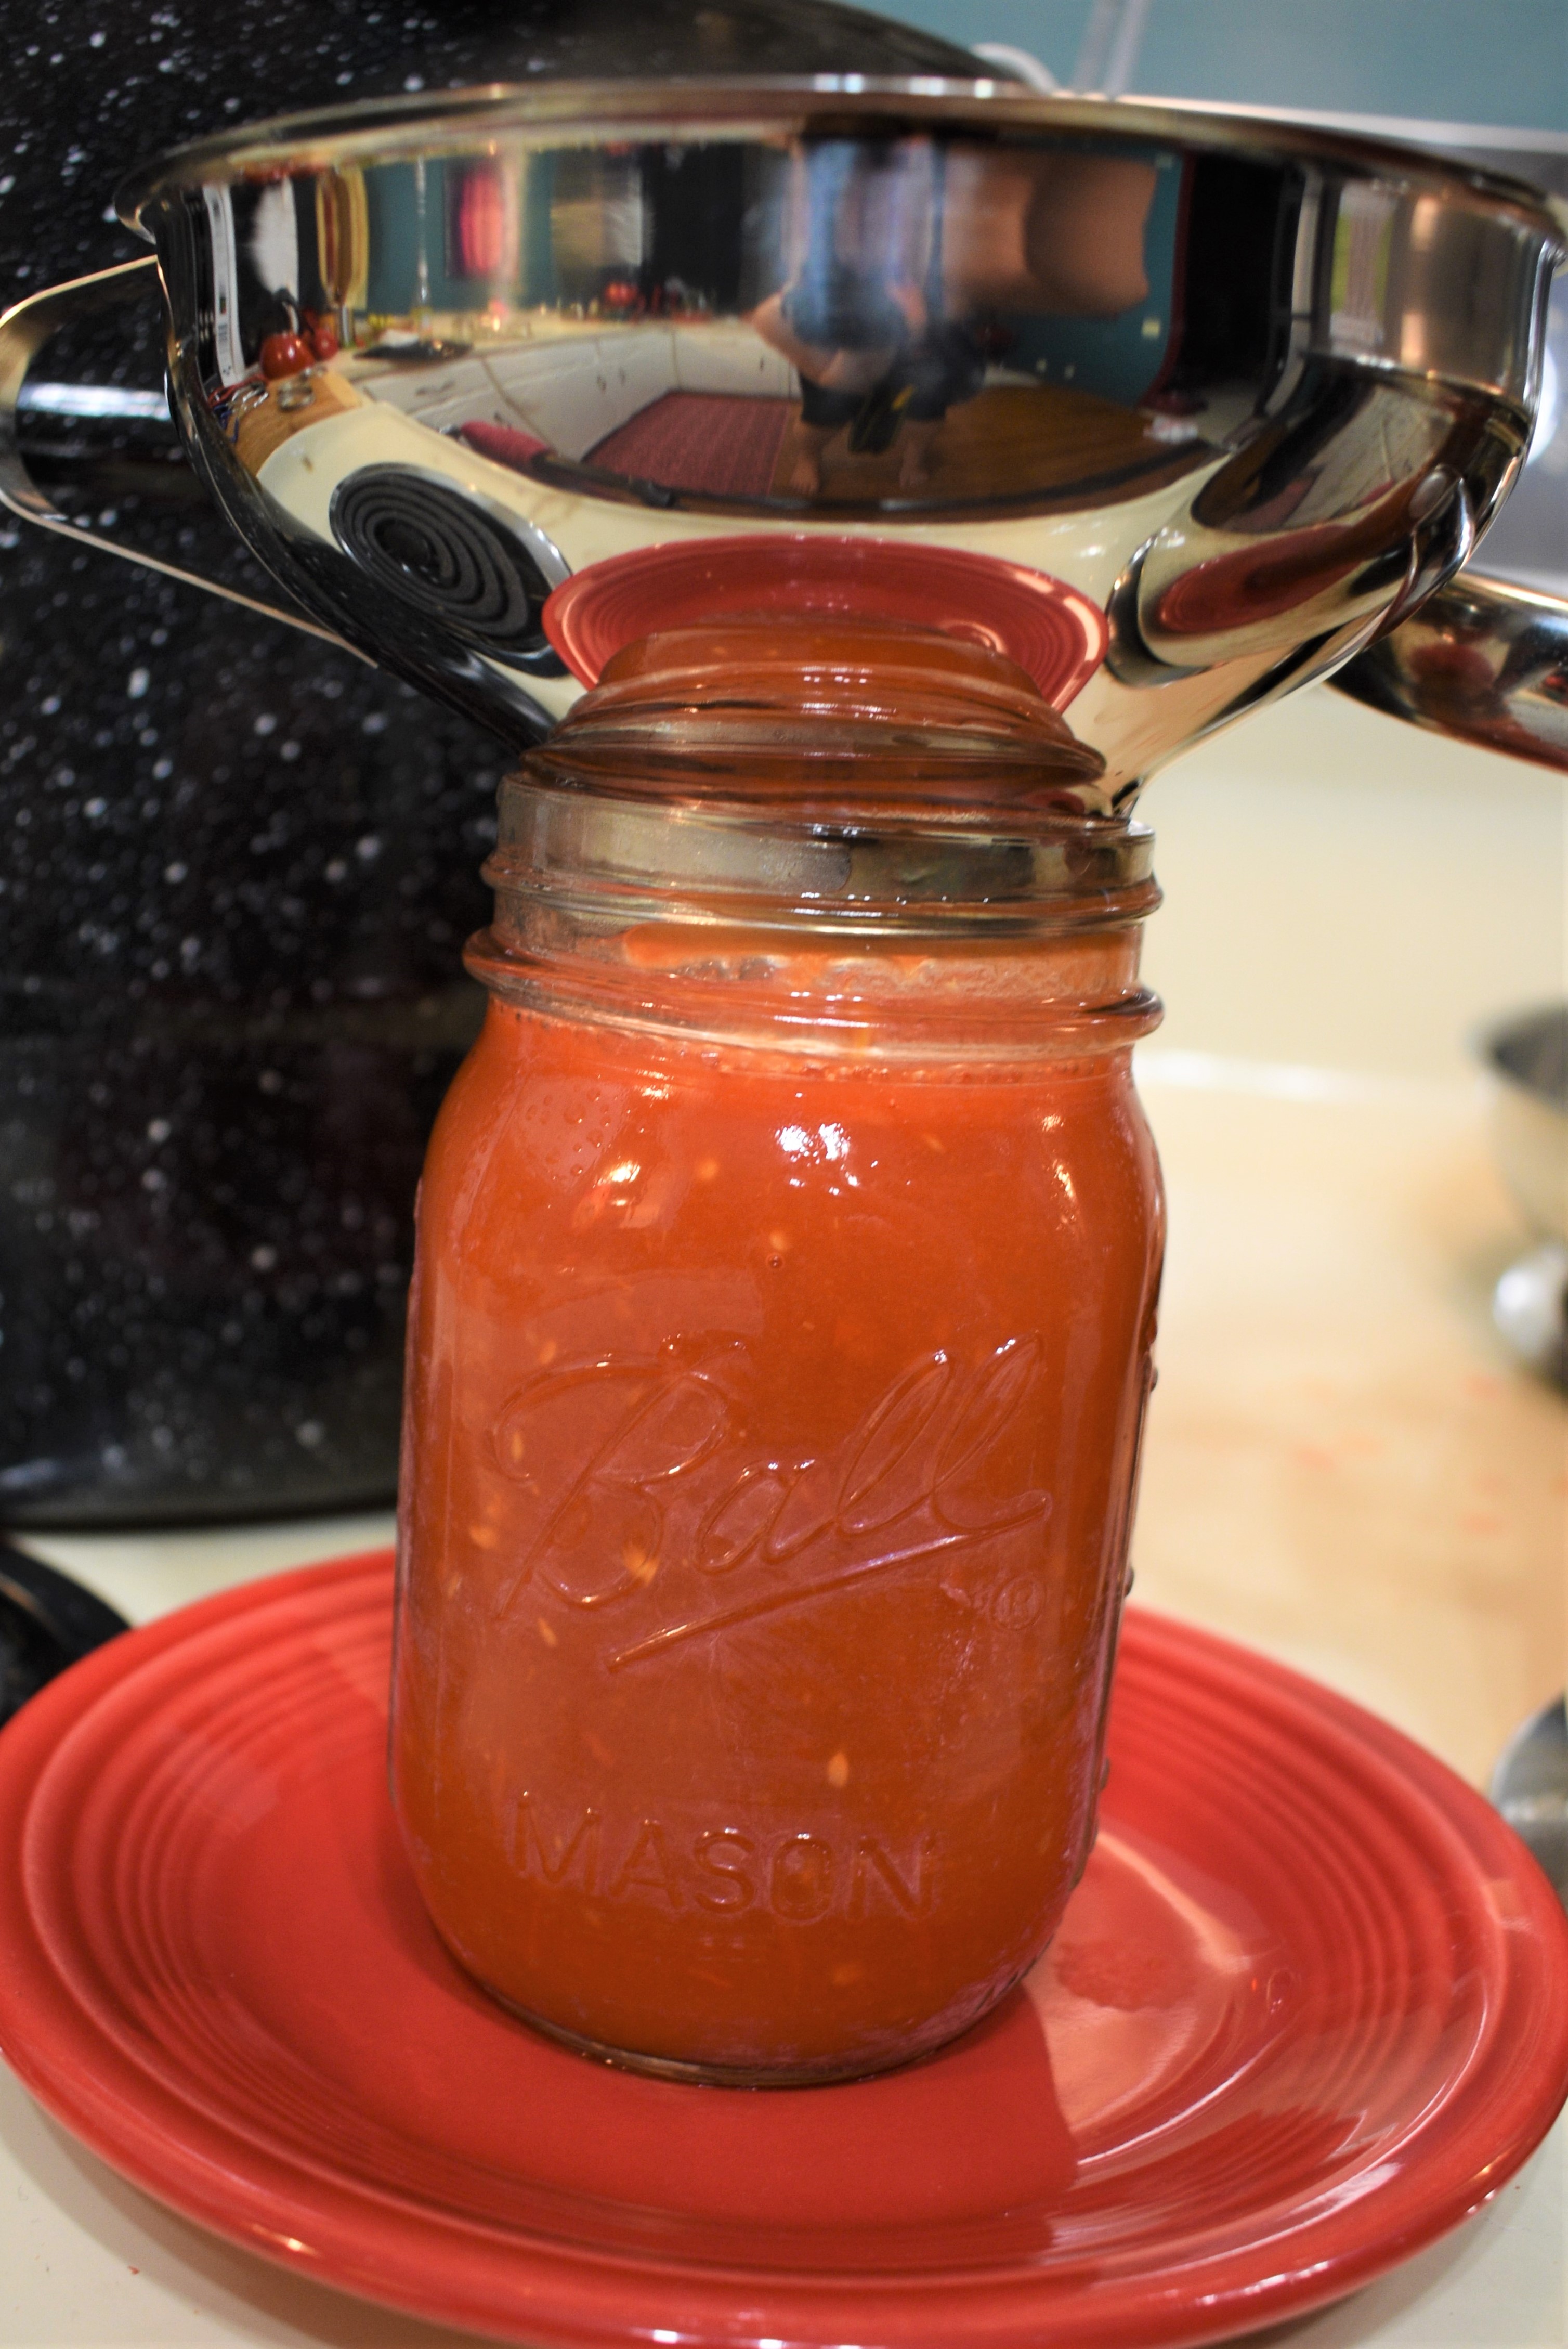
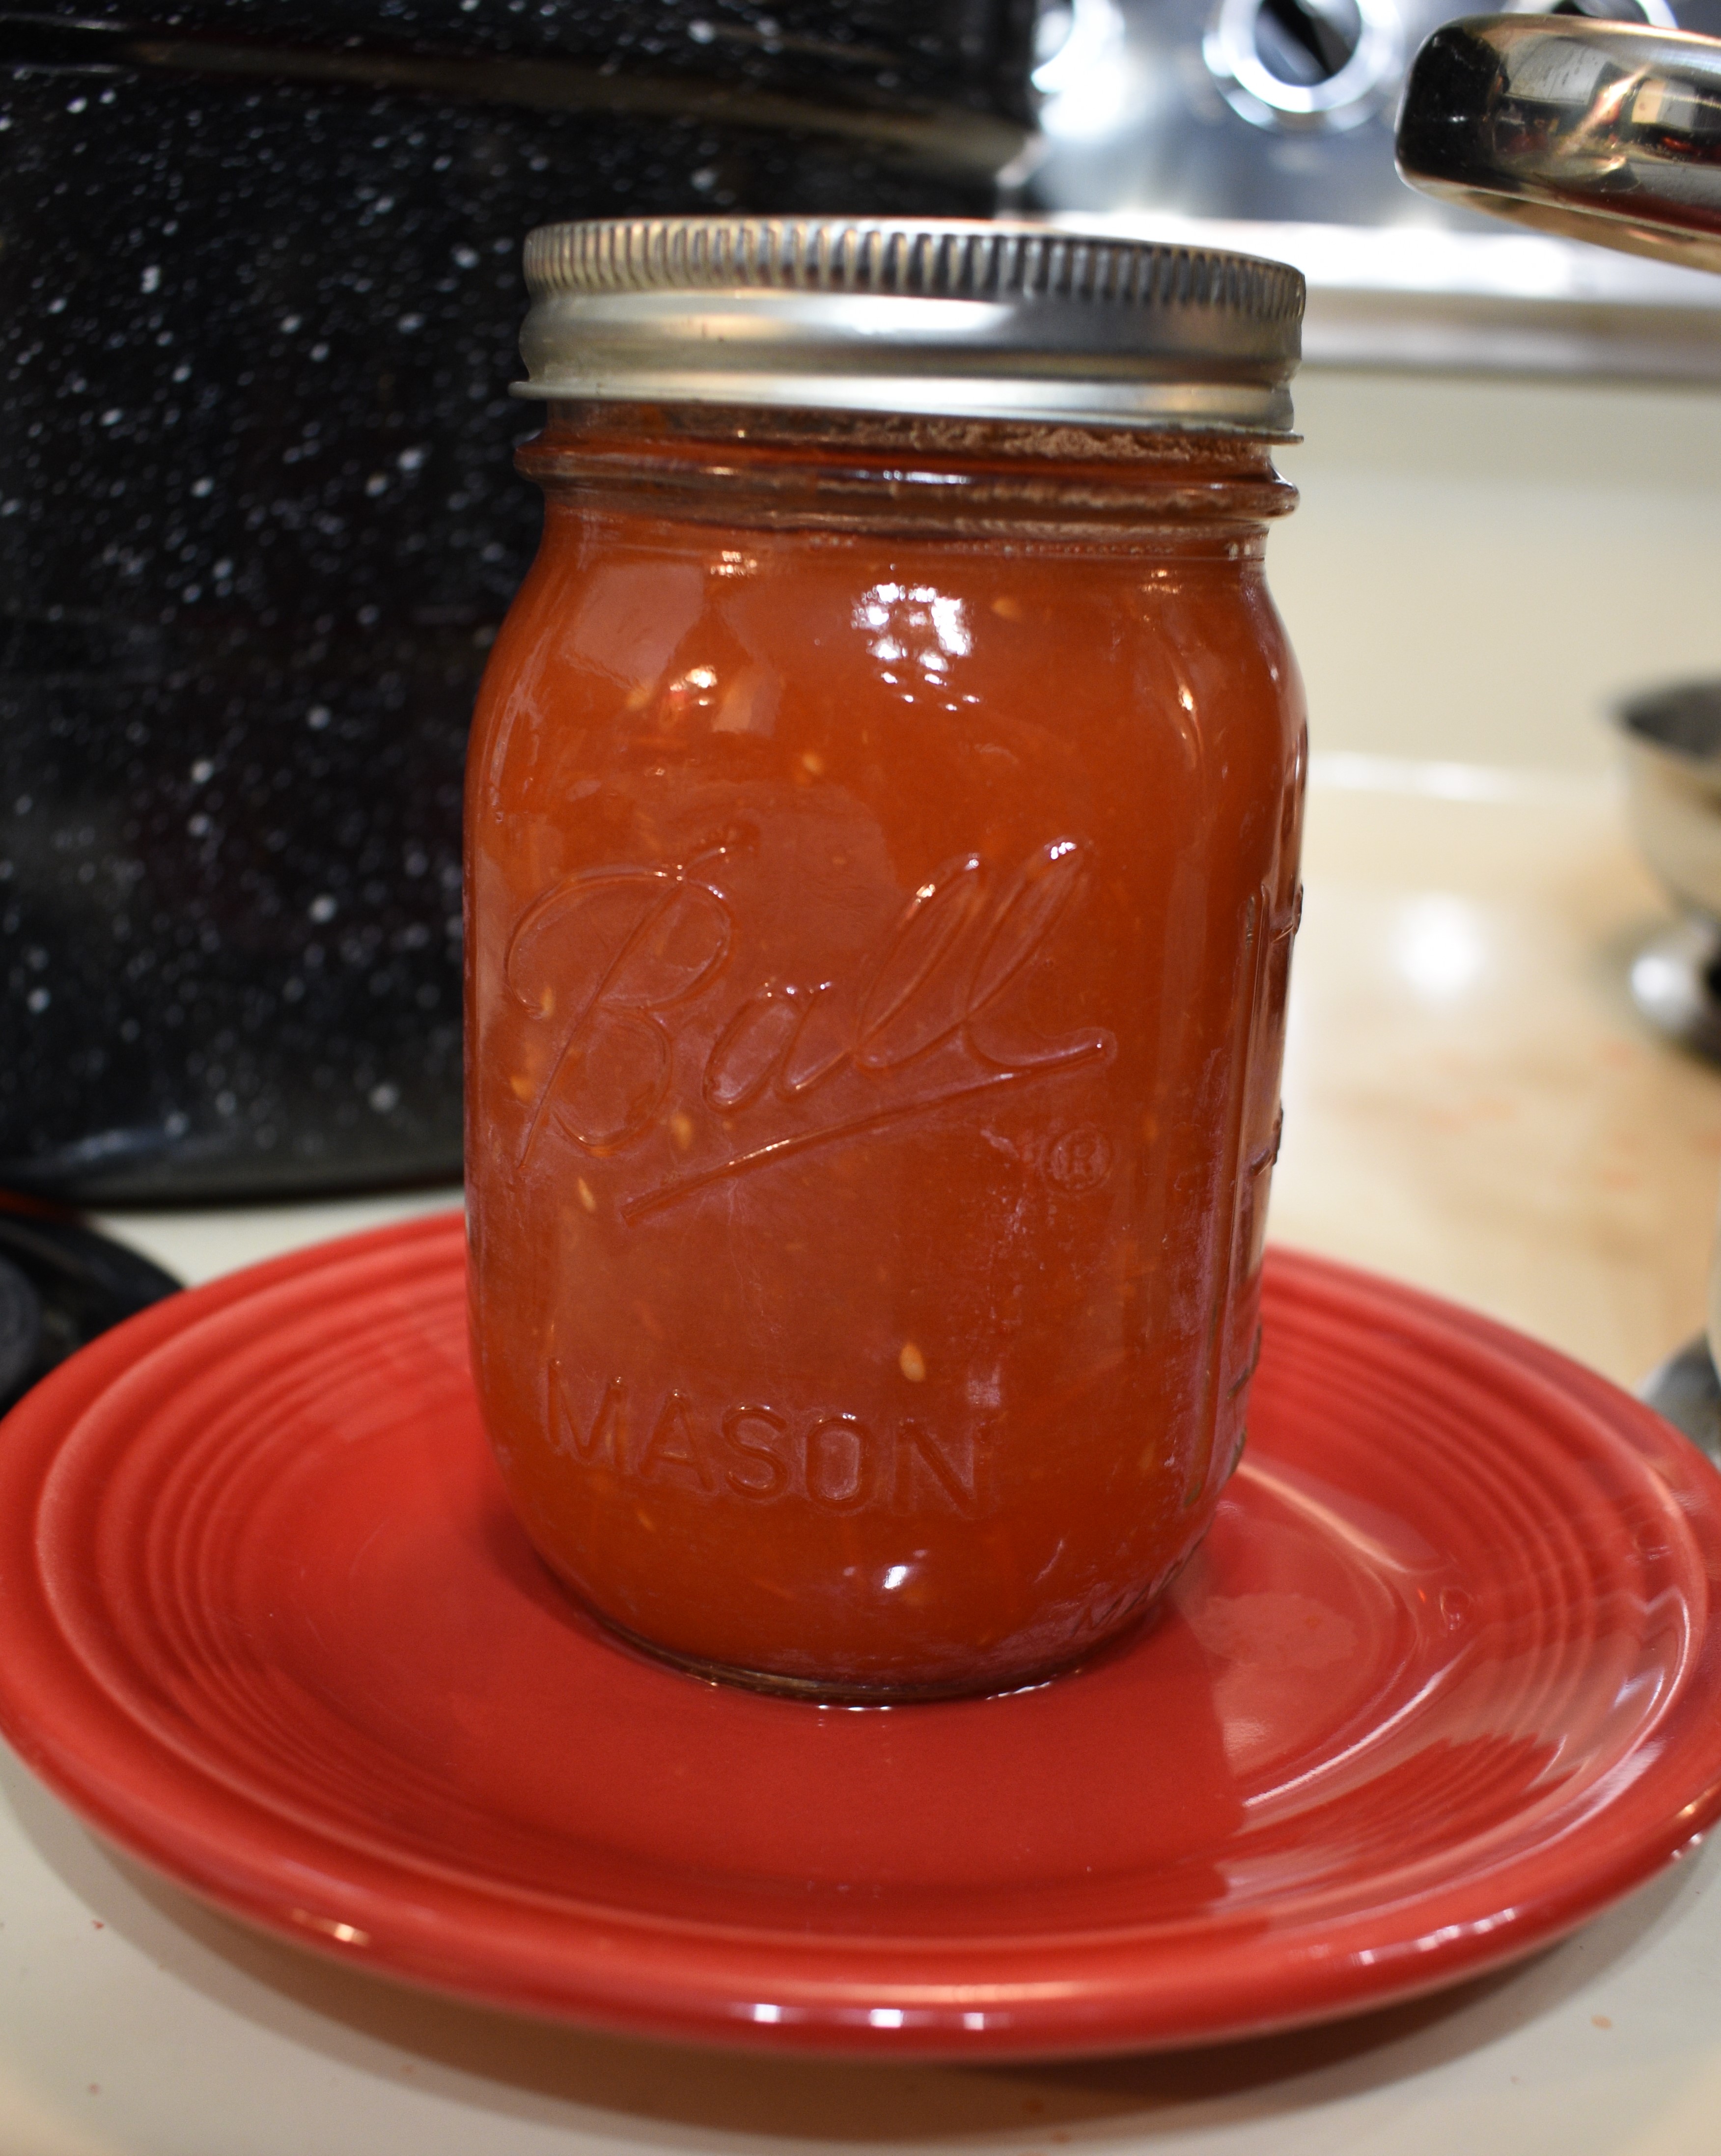
Remove a hot jar from the canning pot, place it on a flat surface. I use a small plate next to the pot. Place the canning funnel in the mouth of the jar. With the heat-resistant measuring cup or scoop, fill the jar with tomatoes one inch below the top of the jar. Add 1 tablespoon lemon juice for a pint jar or 2 tablespoons lemon juice for a quart jar. Use a paper towel or clean cloth to wipe any drips from the mouth of the jar. Using tongs, remove a lid and screw band from the frying pan water and place on top of the jar. Gently tighten the screw band to hold the lid in place but do not overtighten. Place filled jar right side up in the canning rack. Repeat for remaining jars.
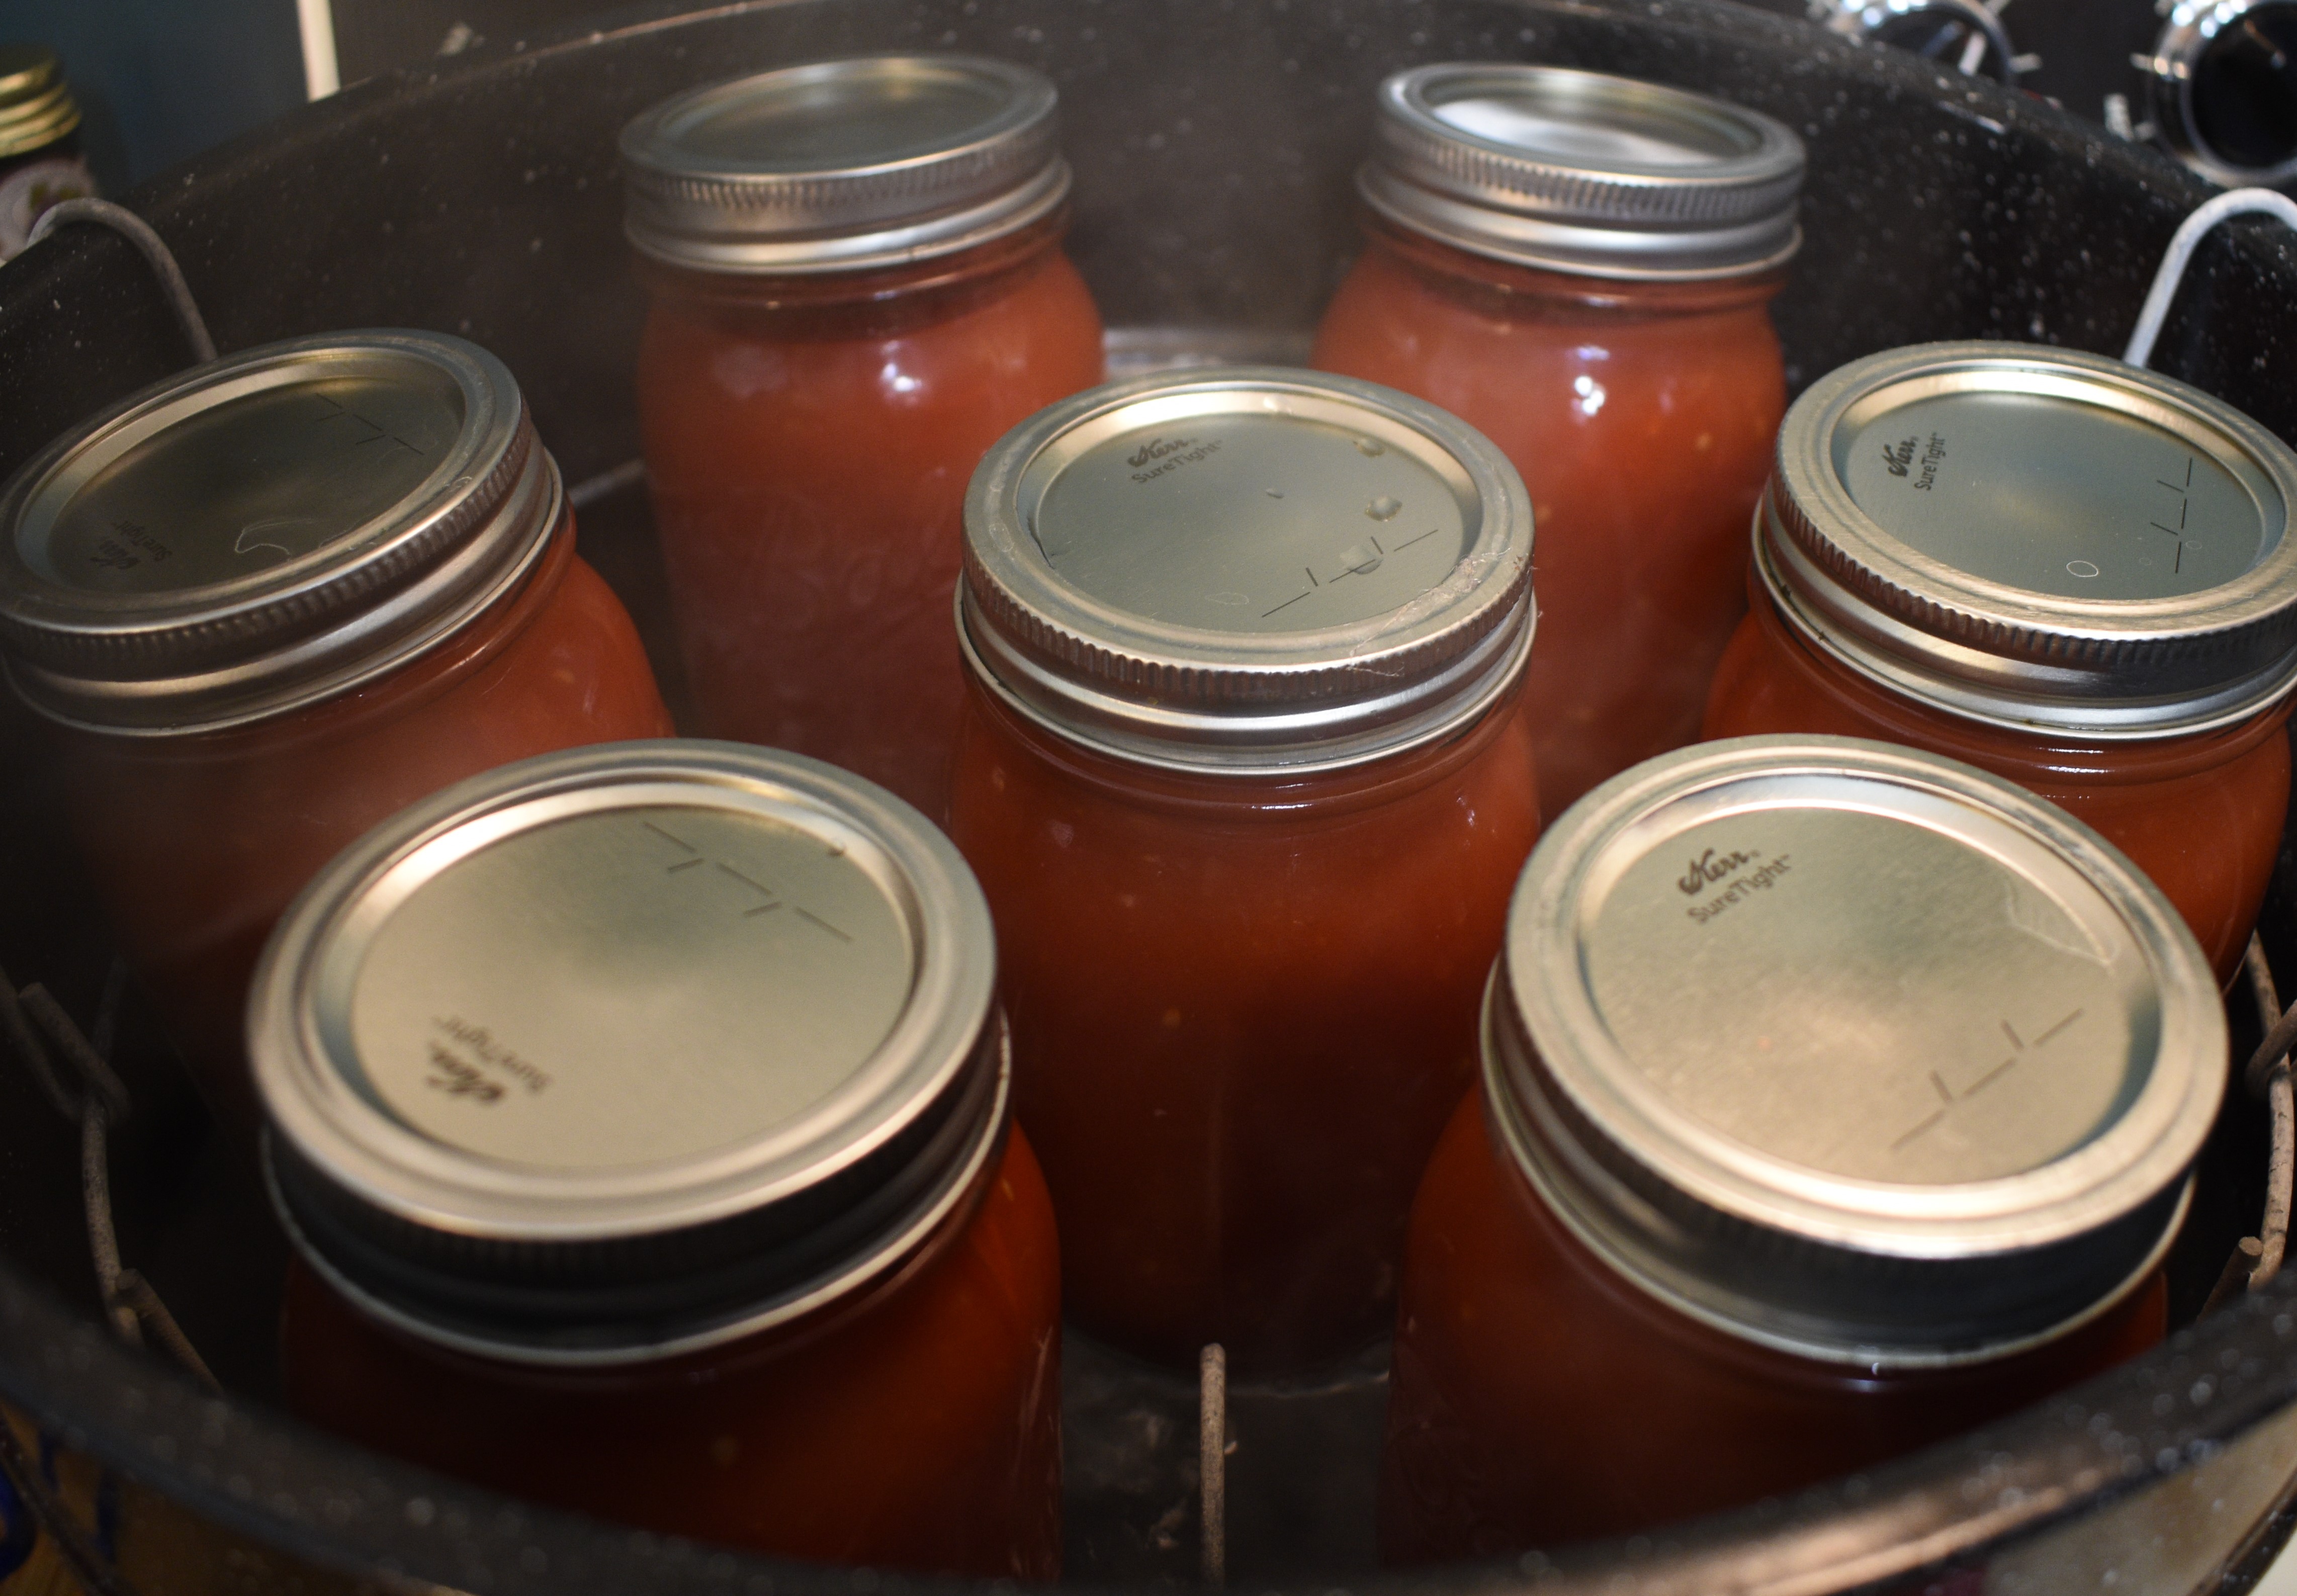
Hot-Water Bath Processing:
Once jars are filled lower the canning rack into the canning pot. Cover and boil for 40-45 minutes. Turn off the heat and let sit for approximately 5 min. Carefully lift the canning rack out of the water using oven mitts. Remove the jars using the jar lifter and place them on a heat-resistant surface. I place 3-4 kitchen towels on the countertop to protect from the heat.
Cool the Jars:
Leave the jars on the counter for several hours to cool. You may hear some popping noise. This is a good thing!! The last of the air is leaving the jar and the popping noise is the jar lid vacuum sealing to the jar. Once cool, press your finger in the middle of the lid to make sure it’s sealed. If you feel any give or hear a pop once cool, the jar is not sealed. Any unsealed jars need to be stored in the refrigerator. Use within a week.

Notes: There is conflicting information around the use of lemon juice when canning tomatoes. The PH balance is high enough to use a hot-water bath instead of a pressure cooker however it’s on the low end of the scale. To be safe, many people will use lemon juice to add additional acidity; other people will can tomatoes without it. I have used both methods. If you use lemon juice, you should use the bottled juice concentrate as the acidity of fresh lemons can vary and will defeat the purpose.
You can also add salt, garlic, or other herbs/seasonings. I do not add anything as it gives me the flexibility to use it in various recipes.
What other vegetables do you can/preserve?
I am not a professional in any of the topics discussed on Adventures at Home and Away. All content on Adventures at Home and Away is for informational and educational purposes only. All comments made are my personal opinion and should not be used as professional advice.
Photography on Adventures at Home and Away is protected by copyright and licensing agreements. No photographs may be copied or reused unless a proper license agreement has been obtained.


1 Comment
Bonnie
November 24, 2021 7:51 pmGreat information! Can’t wait to try it next summer!
Thanks!
Comments are closed.