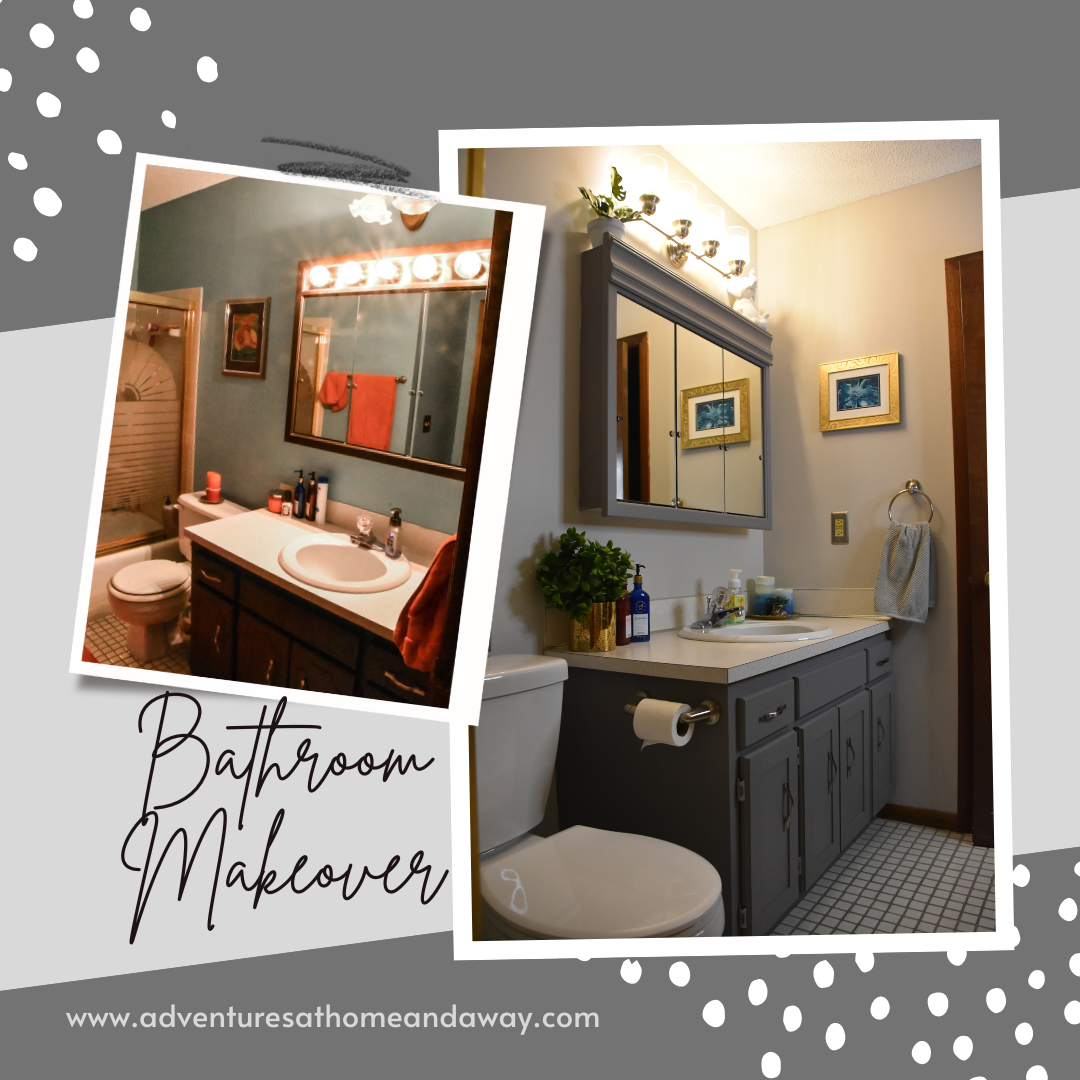
It’s finally done, the bathroom makeover project is complete!! It took a lot longer than I had hoped but I came in under budget. I could not be happier with the results. It looks like a completely different bathroom. That’s the point right?
If you read my post about Planning a Makeover, you know I’m getting my home ready to try to sell. While the date has moved some due to housing market conditions, I still need to be ready to sell when the time is right.
There is something so exciting about finishing not only a project but also finishing all of the must-do’s and some should-do’s of a makeover. I still have a few might do’s left but for now, I’m calling it done!
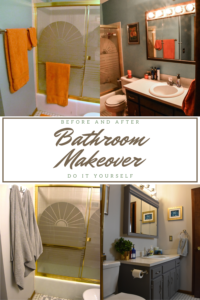
Before Bathroom Makeover Project
My bathroom was one of the first projects I completed when I moved in. Lots of paint!! Paint on the walls, paint on the vanity and paint on the medicine cabinet. The color choice at the time was when teal, chocolate brown, and orange were all the rage. I LOVED IT!! I embraced it!! I owned it!!
The walls were a nice beachy teal/blue color, the vanity and medicine cabinet were chocolate brown and the accents including towels and rug were bright orange. I felt so sophisticated and classy.
Over time my towels started to look dated and since the color was no longer desirable, finding new ones was virtually impossible. I knew it was time for an update but was not ready. The original color scheme was the first design choice I made as a big girl with my first purchased home.
The problem is, I was holding on to the past because of fear. The fear that has held me back for years, what if it goes wrong, what if I hate it, what if others hate it… When I realized it was holding on to the past for the wrong reasons, I knew I needed to push myself to make a change.
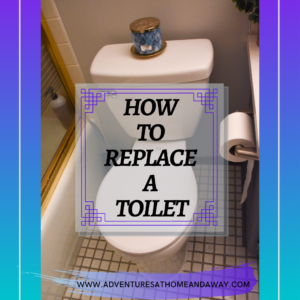
First Up -Replace the Toilet
The first change I made was to replace the toilet. It was something I needed to do for years but never did it. Once there started to be problems I no longer had a choice. My partner in crime and I set to it one weekend.
I thought it would be disgusting and in many ways it was. We did our best to drain the water but there was still some in the base. It looked clean but still in the back of my mind I knew it was toilet water. Every day I left the house I’d see the old one in the garage and it was gross.
The city clean-up day would not get here fast enough and it was the first thing to head out the door!
I love having the new toilet but do wish I had purchased a different one. At least this is only temporary and I will know for the next house.
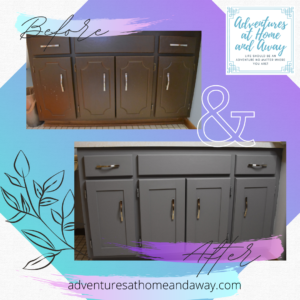
Bathroom Vanity Makeover
The second task in the bathroom makeover project was, that we tackled was the bathroom vanity. This project took a bit more thought to come up with a way to update the dated cabinets. I knew updated paint would not hide the 1980’s style. It needed something more. I reached Pinterest for all kinds of ideas but nothing seemed quite right.
I found a couple of options that might work so I set out to mash the two options into one I would like. Originally, I hoped to finish this in a weekend but it took a lot longer. Because of the design I wanted, I needed to first fill the grooved design on the front of the door with wood putty. Skipping this step was not an option because the next step did not fully cover the grooves. I took quarter-inch plywood strips, cut them to length, then glued and nailed them to the face.
Each of the steps required a lot of dry time which extended the completion time. I finally got some paint on the base and doors. The finishing touch was contact paper liners inside and some organizational bins. The bathroom makeover project is moving along nicely.
It turned out better than I expected!
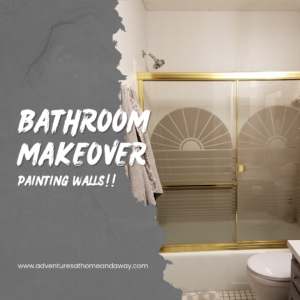
Paint Walls, Change Towel Rack…the bathroom makeover transformation is taking shape
The third project on the bathroom makeover project list really took this effort to the next level. Painting the walls and updating the towel racks. This step was exciting for me. It was the point where the bathroom really started to look different.
This also took some extra time because I needed to do some drywall patching before starting the painting. I felt like the blue beneath kept showing through in spots so I put several coats on. I found some hooks for towels I liked on Amazon. A few days later it was installed and ready to use.
I have to admit, it was weird going into the bathroom. It has been blue for so long seeing it in a light gray was strange. Even though the color was lighter now it still felt dark and blah. But I knew with a few accessories and pops of color, it would be perfect.
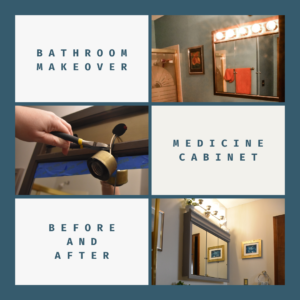
Much Needed Medicine Cabinet Makeover
The Medicine Cabinet project was by far my favorite transformation!! I’ve never liked the Hollywood lights and the fact they were connected to the same light switch as the vanity lights frustrated me. I was ready for them to go. But buying a whole new medicine cabinet was not in the budget.
Since I still needed the storage space provided by the medicine cabinet, I needed a different plan for this part of the bathroom makeover project. It ended up being quite simple. A wide piece of crown molding covered the light plate, some paintable caulking sealed the pieces for a seamless look. A few coats of paint to match the vanity and it looked like it was meant to be together.
I’m very proud of how this turned out! It took some time to get used to having less light in the bathroom but I would not change a thing about it!
Time to Complete the Bathroom Makeover – Accessories!
Since everything else in this bathroom makeover project was new and updated, I needed to do the same for the accessories. I set out to find new towels, rugs, wall art, shower head… This was the hardest part of this whole project for me. I find it easy to find paint to coordinate, or woodworking DIY projects but finding accessories to coordinate and fit my vision is not always easy.
I had a vision in my head but a small budget. Also knowing this would not be my forever home, I needed something that would easily be used in our future space. I set out one afternoon to my go-to stores for inexpensive but cute home décor: Tuesday Morning, Burlington, Marshalls, Home Goods, and TJ Maxx.
New Linens
I started with towels. This was difficult because I don’t like white towels (they look dirty and dingy too fast) but finding a gray that coordinated with the paint was harder than I wanted. Everything was too brown or too blue. Eventually, I found a set that worked. It would not have been my first choice but it worked and I was out of options.
Once I had towels, the next trick for this bathroom makeover was finding a rug to match. This was even harder to find than the towels. Apparently either everyone else buys gray bathroom rugs so they are out of stock or no one else uses them and they don’t make them. I didn’t want to bring in too much color but needed a rug. I finally found one in the clearance section tucked in the back corner of the bottom shelf. It has white which I was trying to avoid but beggars can’t be choosers so I went with it.
I like the look but hate that it looks dirty the day after I wash it. I can live with it for now.
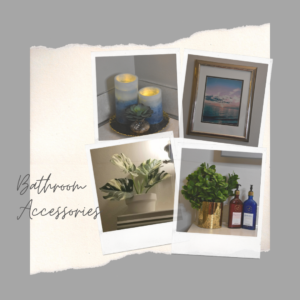
Art, Plants, Candles, and…
I wanted to keep the colors to a minimum but knew there needed to be some colors to bring life into the bathroom. And I didn’t want to spend a lot but needed something. I decided to repurpose the existing picture frames. One I left as is the other one got a coat of gold spray paint. Why gold? I’ll explain more in a bit. The photos are actually ones I took on vacation. They, however, were not the right color so… through the magic of Adobe Lightroom they transformed into the perfect color scheme.
My bathroom has no windows so live plants are not a viable option. A quick stop at Michaels for some faux plants, a terracotta pot was perfect. While there I found some flameless candles in a perfect color.
I found a wide gold mercury glass vase (similar one found here) on clearance at Marshalls and a gold plate to hold the candles. Things were going well but there was still something missing. I planned on putting a faux plant on top of the medicine cabinet but needed something else. But what…
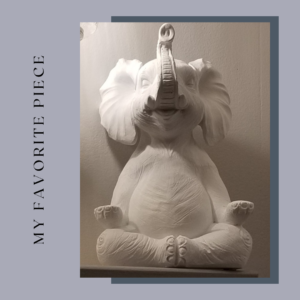
Why an Elephant of course!
After wandering around 5 different stores, not finding what I wanted I saw an all-white carved elephant meditating. I was drawn to it but didn’t think it was right for the space. Another loop around the store and still nothing but the white elephant was still “looking at me” drawing me in.
My partner in crime was getting bored and hangry at this point. He was just ready to be done. If I’m being honest I was too but I didn’t want to leave without something for the Medicine Cabinet. I heard him chuckling in a different aisle so I went to see what he found so amusing. He jokingly said with a hint of sarcasm, “what about this?” It was the meditating elephant.
I put it in the basket and started to walk toward the checkout. He was looking at me like I had three eyes and said “I was joking.” I replied, “I know but I’m not.” I figured it was a sign, of all the things he could find to joke about it as the same elephant I had been drawn to.
Looking at it now, I can honestly say it’s my favorite thing in the whole bathroom. It made the bathroom makeover project complete and is the first thing guests commented on when they see the finished room.
Why Gold?
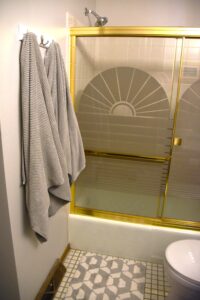
Gold accents were not part of my original bathroom makeover project plan. But you may have noticed the ugly vintage 1983 shower glass shower door. I LOATH this door but replacing it is way out of my budget and may require the replacement of the tile. So, I decide instead of fighting with the door, I needed to play it up. Bringing gold accent pieces into the design was the perfect way to “hide” the dated gold/brass color metal.
Replacing the shower door, painting the trim and doors white, and replacing the bathroom fan are all on my might-do list but those will be considered only after the rest of the home makeover projects are complete and there is budget money left over. If there is a leftover budget…
Coming Next – Replace Main Living space flooring, guest bedroom painting, and much-needed update in the pantry/closet.


