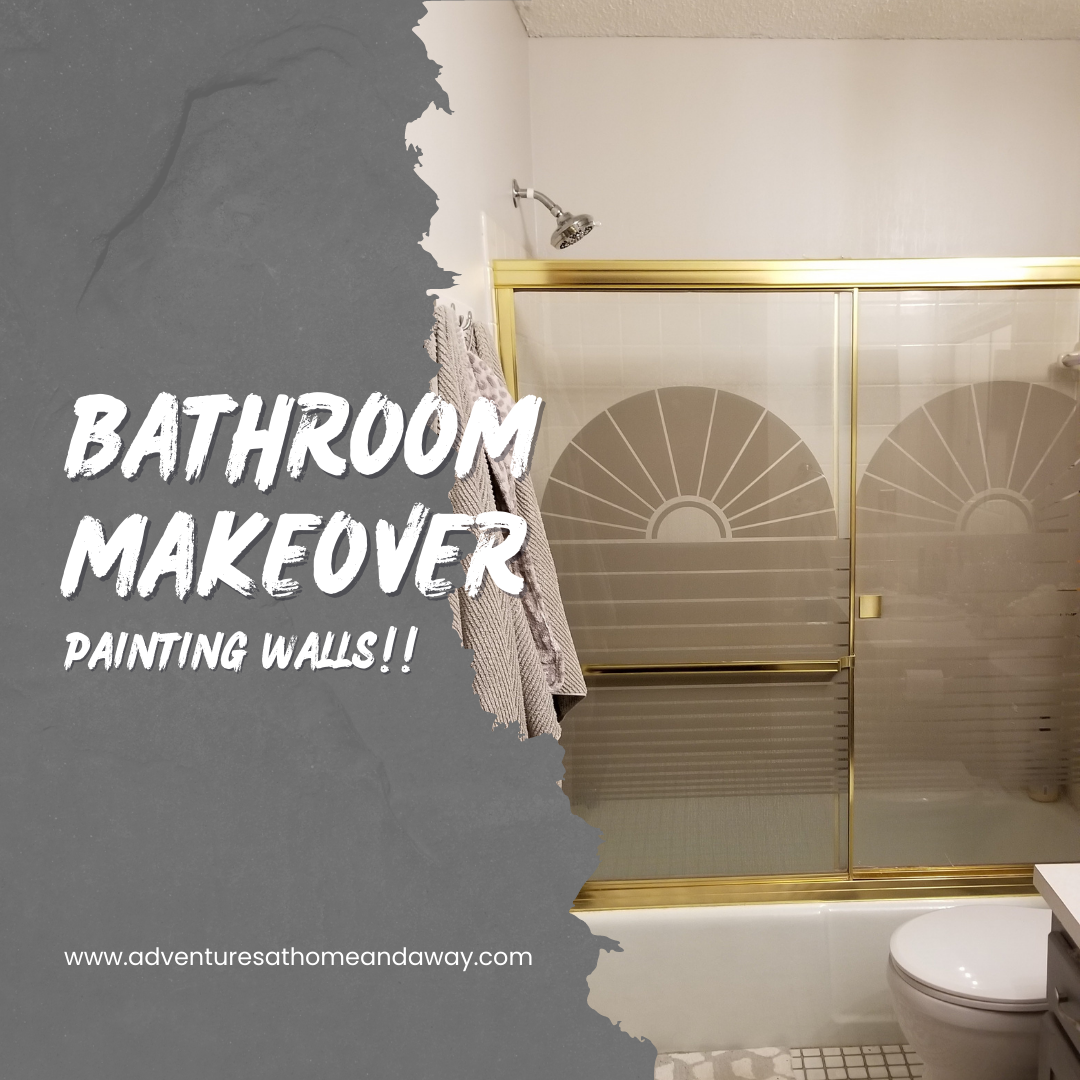
Next up on my bathroom makeover project is painting walls.
I LOVE to paint!! There are a lot of people who hate it or tolerate it, but I really love painting! I find it very meditative and relaxing. It takes some focus and concentration but no actual brain power. Basically, it’s mindless but still requires focus on the task.
Painting walls is also an easy do-it-yourself project and requires limited tools and can be learned to do well enough for most people. Before professional home painters get mad at me for saying anyone can do this, there are some reasons to hire a professional.
1 Reason to Consider a Pro for your Bathroom Makeover Painting?
One reason you may want to hire a pro vs DIY for any home makeover project is time. Time is after all money and people. Painting walls take some time to do well. When I plan a painting project, I assume it will take me at least 2-3 days depending on the size of the project and the before and after colors.
As I mentioned in the previous post about my bathroom medicine cabinet project, if you go from a light to a dark or a dark to a light color, it takes more coats to get even coverage. The more coats you need do to the longer it will take since you need to let it dry some in between coats.
If you have a busy life or need to spend your time on other efforts, then hire a pro to paint your walls. The more you paint the quicker you can complete the work. Since a pro does it multiple times a day they can get the project done in half the time many DIYers can do the work.
If your budget allows you to afford a professional painter, and you don’t want to dedicate your own time, then find a reliable pro.
Biggest Reason to Consider a Pro?
The most important question to ask yourself is: do you like to paint walls? Or if you have never tried it, do you want to try it?
I’ve spent too many hours of my life doing things I dreaded. Either to save money or to make someone else happy. If you hate painting walls (you know who you are), and our budget allows, hire a pro!
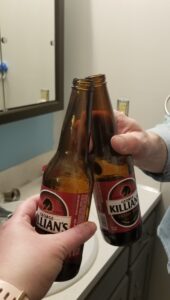
Me, I love it so I did this bathroom makeover painting project myself!
Prepare the Walls to Paint
If you ask someone why they don’t like to paint, the answers will more often than not come back to the prep work. I can’t say I blame anyone. This too is my least favorite part of the project. It’s time-consuming, often tedious, and it’s difficult to see the value. Trust me, there is value!
Depending on your project, you may need to wash your walls. If you think your walls are fine, take a damp paper towel or light-colored cloth and wipe down a high-use spot like around the light switch. If the cloth or paper towel is dirty, your walls should be washed.
I want to be honest; I don’t always do this step but I always run into a spot where for some reason the paint just does not stick to the wall very well. If the paint does not stick well, it will look uneven and require additional coats.
If you take a few minutes to wash the walls, it could save you time and energy from having to add extra paint.
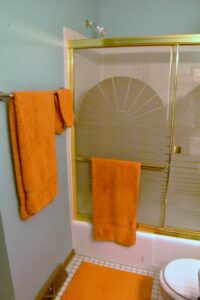
Bathroom Makeover Needs New: Towel Rack, Pictures, Outlet Covers…
Since this bathroom makeover project involves more than just painting, I decided to replace the old towel rack, pictures, and accessories. I would normally take these things down anyway because it’s easier to paint and takes less taping.
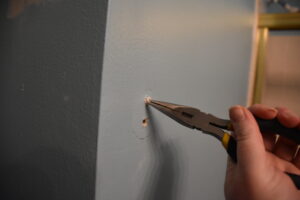
Having a new towel rack will require new brackets and screws so I needed to remove not only the towel rack but also the bracket and drywall screws. This can be tricky sometimes. The screw usually comes out easily, the plastic anchor, however, sometimes gets stuck. I know that is the purpose, it’s supposed to be stuck so the screw stays in the wall. But when you want to replace it, it can be a problem.
My go-to plan is plyers, usually, there is enough surface area to grab the edge of the anchor and pull it out. If that does not work, I sometimes use a drywall knife to try and pry the edge of the anchor out far enough to grab it with the players.
If all else fails, I use a nail set and a hammer to push it into the wall vs pulling it out.

Repair any Wall Damage
Even if you are not replacing your towel racks you may still need to have some drywall damage to repair. This is a step I have skipped in the past and I ALWAYS regret it. Even small dings can become noticeable with fresh paint.
Small drywall patching is fairly straightforward. Keep in mind this is for fixing small holes or gouges. If you have a hole any larger than the thickness of a pencil you will need a different approach which I will not cover here.
Quick Drywall Repair Steps
There are a ton of YouTube videos on this but super high-level; All you need is a drywall putty knife, drywall putty, sandpaper, and paint primer. First, remove any rough edges of the drywall. Then using the putty knife, take a small amount of drywall putty and gently press it into the hole or gouge. Add more in small amounts until the hole or gouge is full. Don’t worry if it’s not smooth or flush. It’s better to have more than not enough.
Follow package instructions for dry and cure times. Once fully dry, (don’t try to rush dry times) using the sandpaper, sand the dry putty smooth and flush with the rest of the wall. Wipe off any drywall dust with a dry cloth or paper towel. You may need to add a second layer of putty to make it smooth.
Add a small amount of primer to seal the putty. My “secret” trick…shhhhh…don’t tell anyone, when I apply the primer, I paint it on like normal then stipple or dab the bristles on the wall in the wet primer. This will add texture and help blend the patched area with the rest of the wall. Let dry and you are ready for the next step…the worst step in my opinion.
Tape the Walls
If I had any reason to hire a pro for my bathroom makeover project, taping the walls for painting would be a reason I would add to my budget. This is my least favorite step but is needed in many cases. I’m practicing my painting skills so I don’t need to tape everything anymore but I do still need to tape some places.
Make sure you go slow and carefully line the edge of the tape as close to the edge of your trim, ceiling, cabinets…anything you are trying to protect from paint.
Throw down a drop cloth to protect the floor and you are good to go.
Time for the Bathroom Makeover – Paint
Do you see why people will say the worst part of the painting is the prep work? It is also why a lot of people hire a pro. The prep work is very time-consuming and tedious. For me, the meditative nature of the physical act of painting is worth the prep time.
My partner in crime is better at rolling. So I took the ladder and brush and set to work on cutting in around the ceiling, doors, behind the toilet…
Side note on painting behind the toilet. If there is not a lot of space between the toilet and the wall it can be difficult to paint the wall behind it. I slipped a garbage bag around the toilet tank. It was an easy way to protect the new toilet we just installed from getting covered in paint.
Once the cut-in work was done on one wall, he came in with the roller and filled in the rest of the wall.
When you paint the key is to make sure you have enough paint on your brush or roller. If you use too much you will get drips. If you use too little it won’t cover. Just make sure you check your work frequently to make sure the paint is covering and there are no drips. If you have a drip, use the brush or roller to smooth it out before it dries! After it dries you are in trouble.
Follow dry times on the can between coats and final cure time. Repeat if you need multiple coats.
Last Step – Remove Tape
I know this seems pretty straightforward forward but there can be some issues with pulling off the tape. Make sure you go slow and pull off at a 90-degree angle from the surface. If the paint is holding the tape in place, use a corner of the drywall putty knife to score or cut the paint loose from the edge of the tape. If small pieces tear off, use plyers or tweezers to pull off the wall.
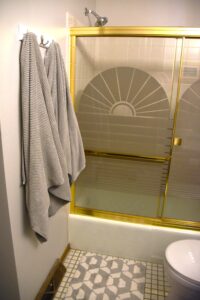
I’m happy with the colors I picked. The old color was great at the time. I was going for a beach-like vibe but this nice warm gray really speaks to me right now. It feels like a spa and I love being in there. I can’t believe how much I’m enjoying this bathroom makeover!
Follow these steps and you can complete a bathroom makeover with some paint too.
What are your painting tips?
Next up – The Hollywood Light and the Medicine Cabinet.
I am not a professional in any topics discussed on Adventures at Home and Away. All content on Adventures at Home and Away is for informational and educational purposes only. All comments made are my personal opinion and should not be used as professional advice.
Photography on Adventures at Home and Away is protected by copyright and licensing agreements. No photographs may be copied or reused unless a proper license agreement has been obtained.

