
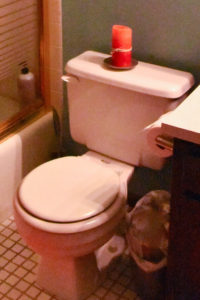
As mentioned in a previous post about Home Makeover Planning, I’m in the process of completing a home makeover, (starting with the bathroom and to replace the toilet). Partially because my style has changed and partially because I’m getting ready for a new chapter in my life and I need to have my home ready for sale by this summer.

When I made my must-do list, “replace the toilet” was number one on the list. Why? For the last couple of years, the toilet would run randomly throughout the day. It was not a lot at first, maybe once every couple of months, so I ignored it. but over time I started to worry about wasting water and became annoyed by the sound. I had purchased a new flapper when I first started noticing the running but never replaced it. Once it started running on a weekly basis, I realized I needed to replace the toilet.
Fix it first?
One afternoon my partner in crime offered to fix the toilet vs replacing it. Since I think even a clean toilet is disgusting, I took him up on that offer. 20 min later the toilet was fixed…or was it…
Quickly after the new flapper was installed, I heard a familiar noise, the toilet was running. Assuming it was just misaligned, we investigated. Phew, it was fixed…or was it…
About an hour later it started to run again. And another hour later, it ran again. Repeat over and over.
Getting frustrated I went in to see what was going on. Everything looked right but it still continued to drip and then run. We turned off the water and drained the tank and saw the likely culprit. Years and years of calcium and lime build-up. While I can’t be sure, visually it seemed the toilet was likely original to the house. Or at least 20 years old. Weighing the risk of damaging it further and not having a toilet, we opted to leave it and it would go on the must-do home makeover list.
Finally getting fed up with the toilet keeping me awake at night, I said it was time to replace the toilet.
Finding a New Toilet
After doing some research online around what to buy and price checking, I found a well-reviewed, under budget, toilet at Home Depot. The next afternoon we ventured out to make the purchase. Online showed limited stock so I held my breath hoping there was still one left. SUCCESS!! There was still one left!! We reviewed the list of what was included and what we needed to buy. Sweet! All we needed was the toilet and a tube of plumber’s caulk. We made the purchase and headed home. (Well, we actually stopped at a local restaurant for happy hour then headed home.)
First, toilets are heavy! Approximately 80 pounds!! Get help lifting, if needed.
After checking all parts and pieces were included and intact the first step was to remove the old toilet.
Gather Supplies
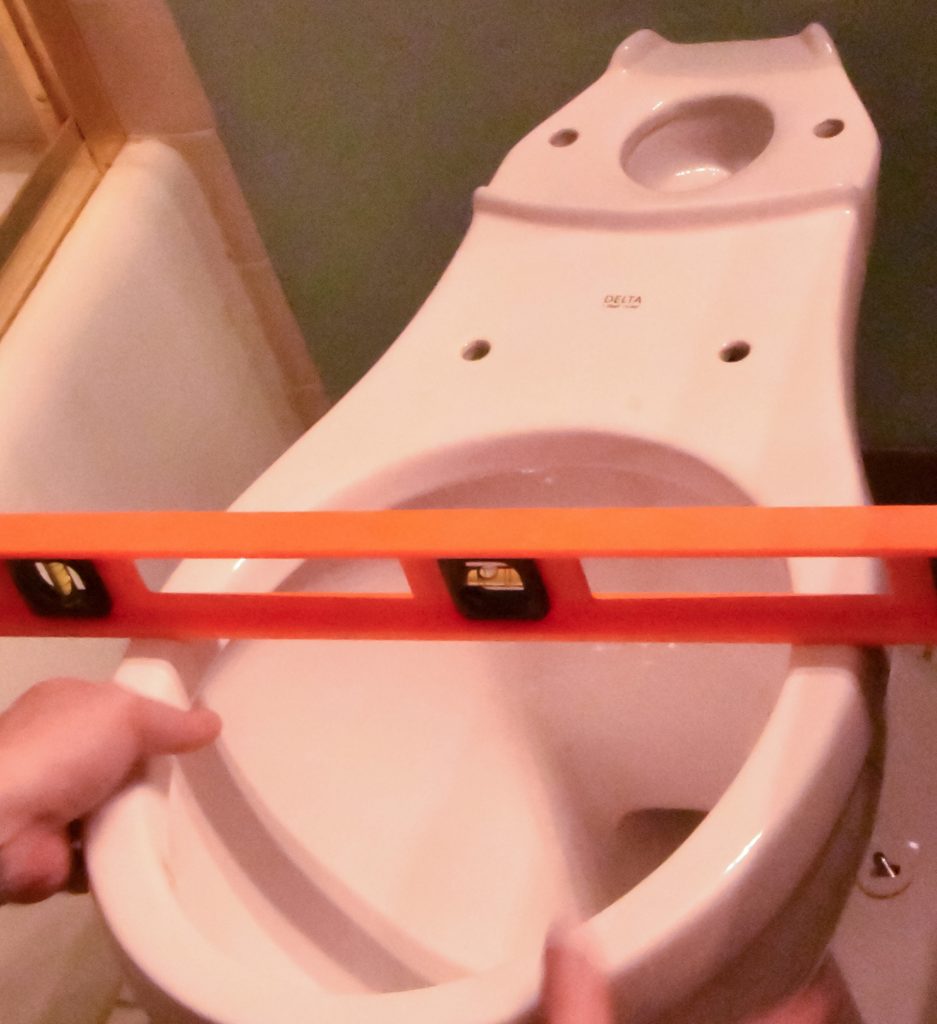
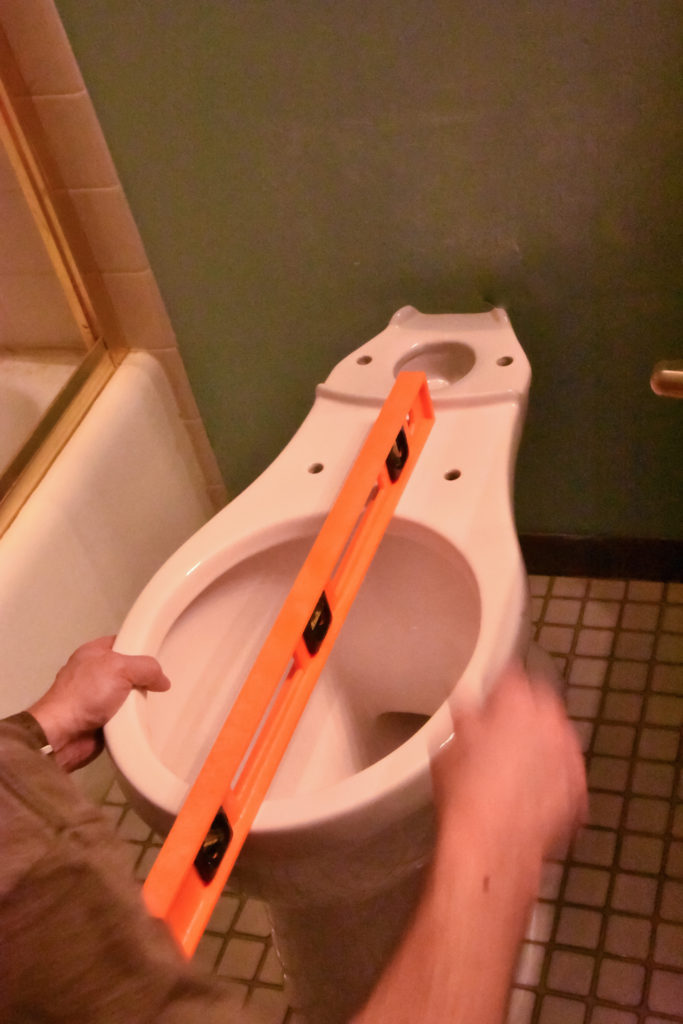
You will need a few things: a large sponge, rags, bucket, small cup or scoop, wrenches, a putty knife, plumbers caulking, and a level long enough to lay across the bowl. I knew we needed a level to replace a toilet but did not realize it needed to cross the toilet bowl….I have a small level but it was not long enough so I had to make an extra trip to the store. Learn from me and get a long level! Check to make sure your new toilet includes a wax ring, if not, you will need to buy one.
This is the first time I’ve ever replaced a toilet. It’s actually the first time I’ve ever seen a toilet install. Thankfully my partner in crime has done this before and has a good idea of what needs to be done. I’m excited to learn something new.
Make sure you turn off the water! This may seem obvious but I don’t want to lead you too far astray. Now, flush the toilet, this will remove most of the water from the tank. At the time we thought that would remove the water from the bowl too….haha it does not! After dumping toilet water on the floor, we realized we needed to scoop the water out of the bowl by hand. Yuck! Thankfully my partner in crime stepped up to do this. Once all of the water was removed, we pulled the old toilet out.
The Dirty Part
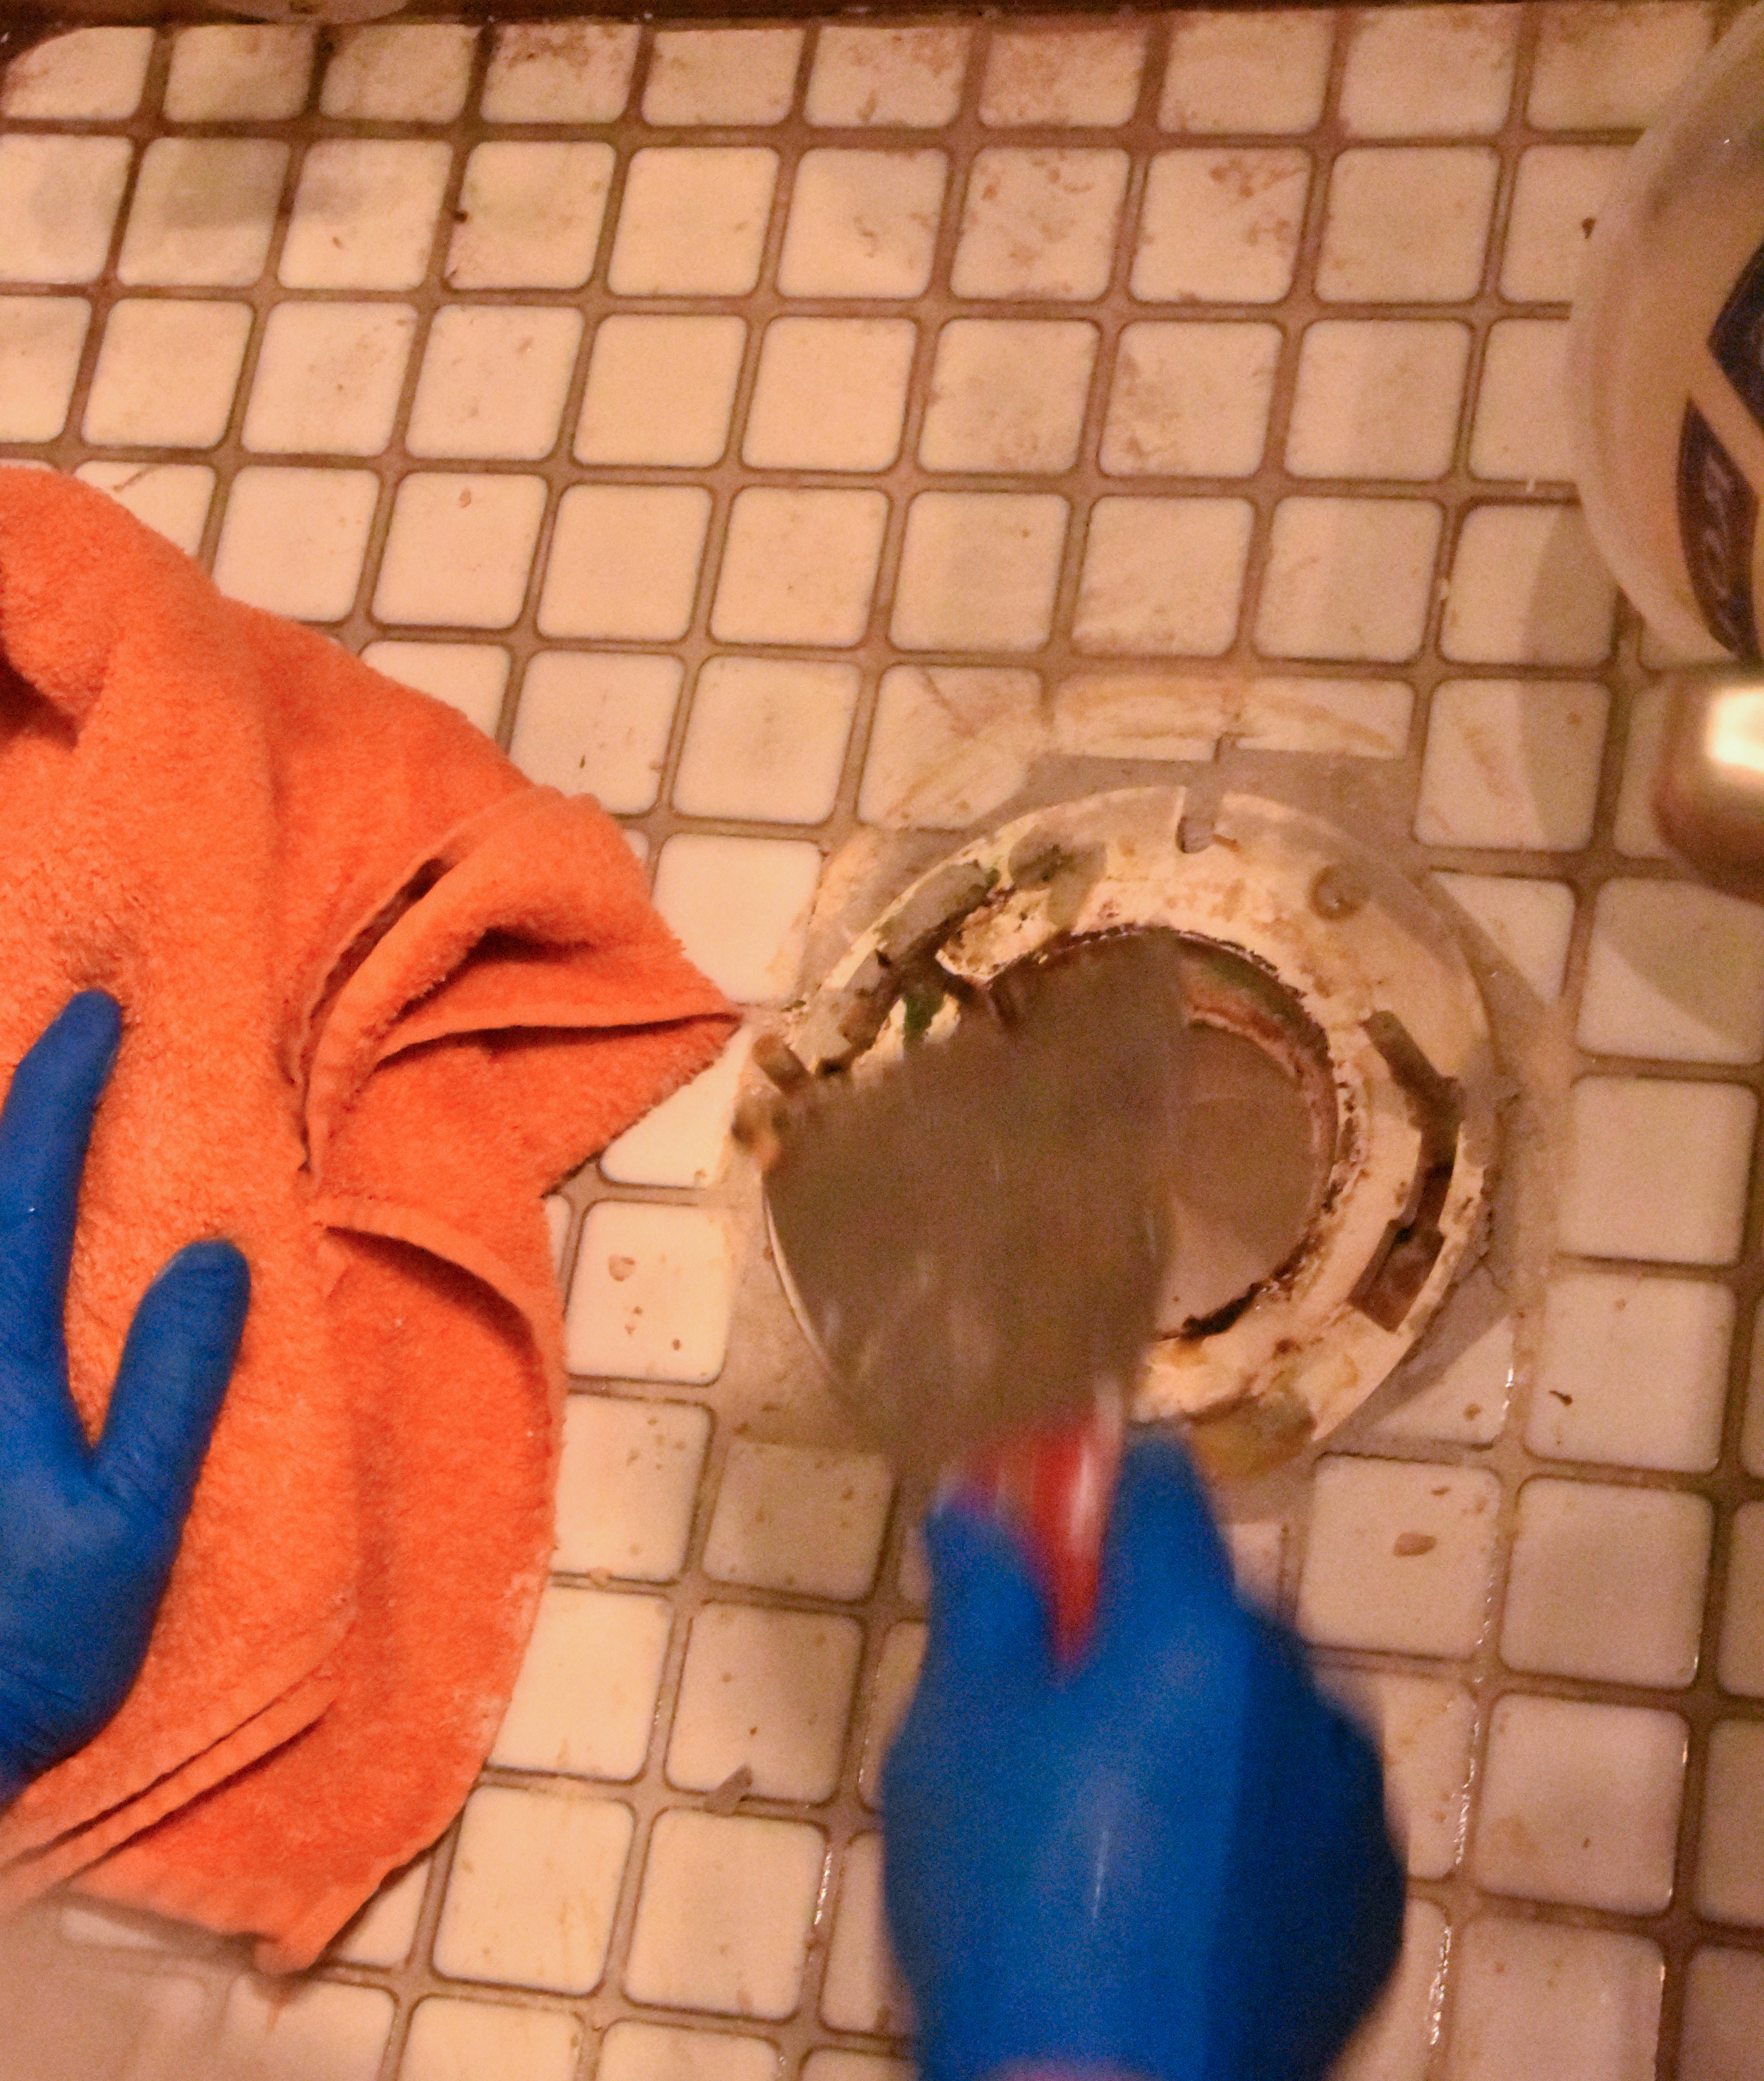
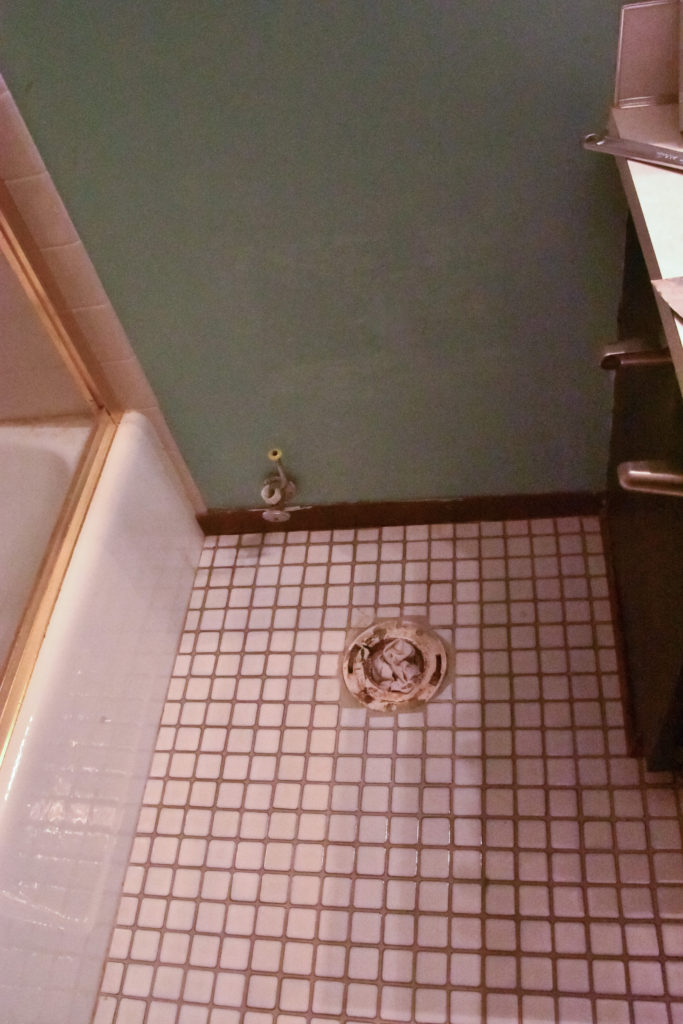
Now for the really dirty part, removing the old wax ring and caulking. Thankfully my bathroom floor cleaned up pretty easily, using some rags and the putty knife scraped all of the old toilet wax rings and caulked up. Since you may start to smell sewage fumes coming from the drainpipe, you can put an old towel or rag in the hole to stop the smell.
The Clean Part
Once everything is cleaned up you can get ready for the new toilet. I took an extra few minutes to spray some disinfecting cleaner on the floor and cleaned the back wall, baseboards, and the floor behind the toilet that doesn’t seem to get very clean.
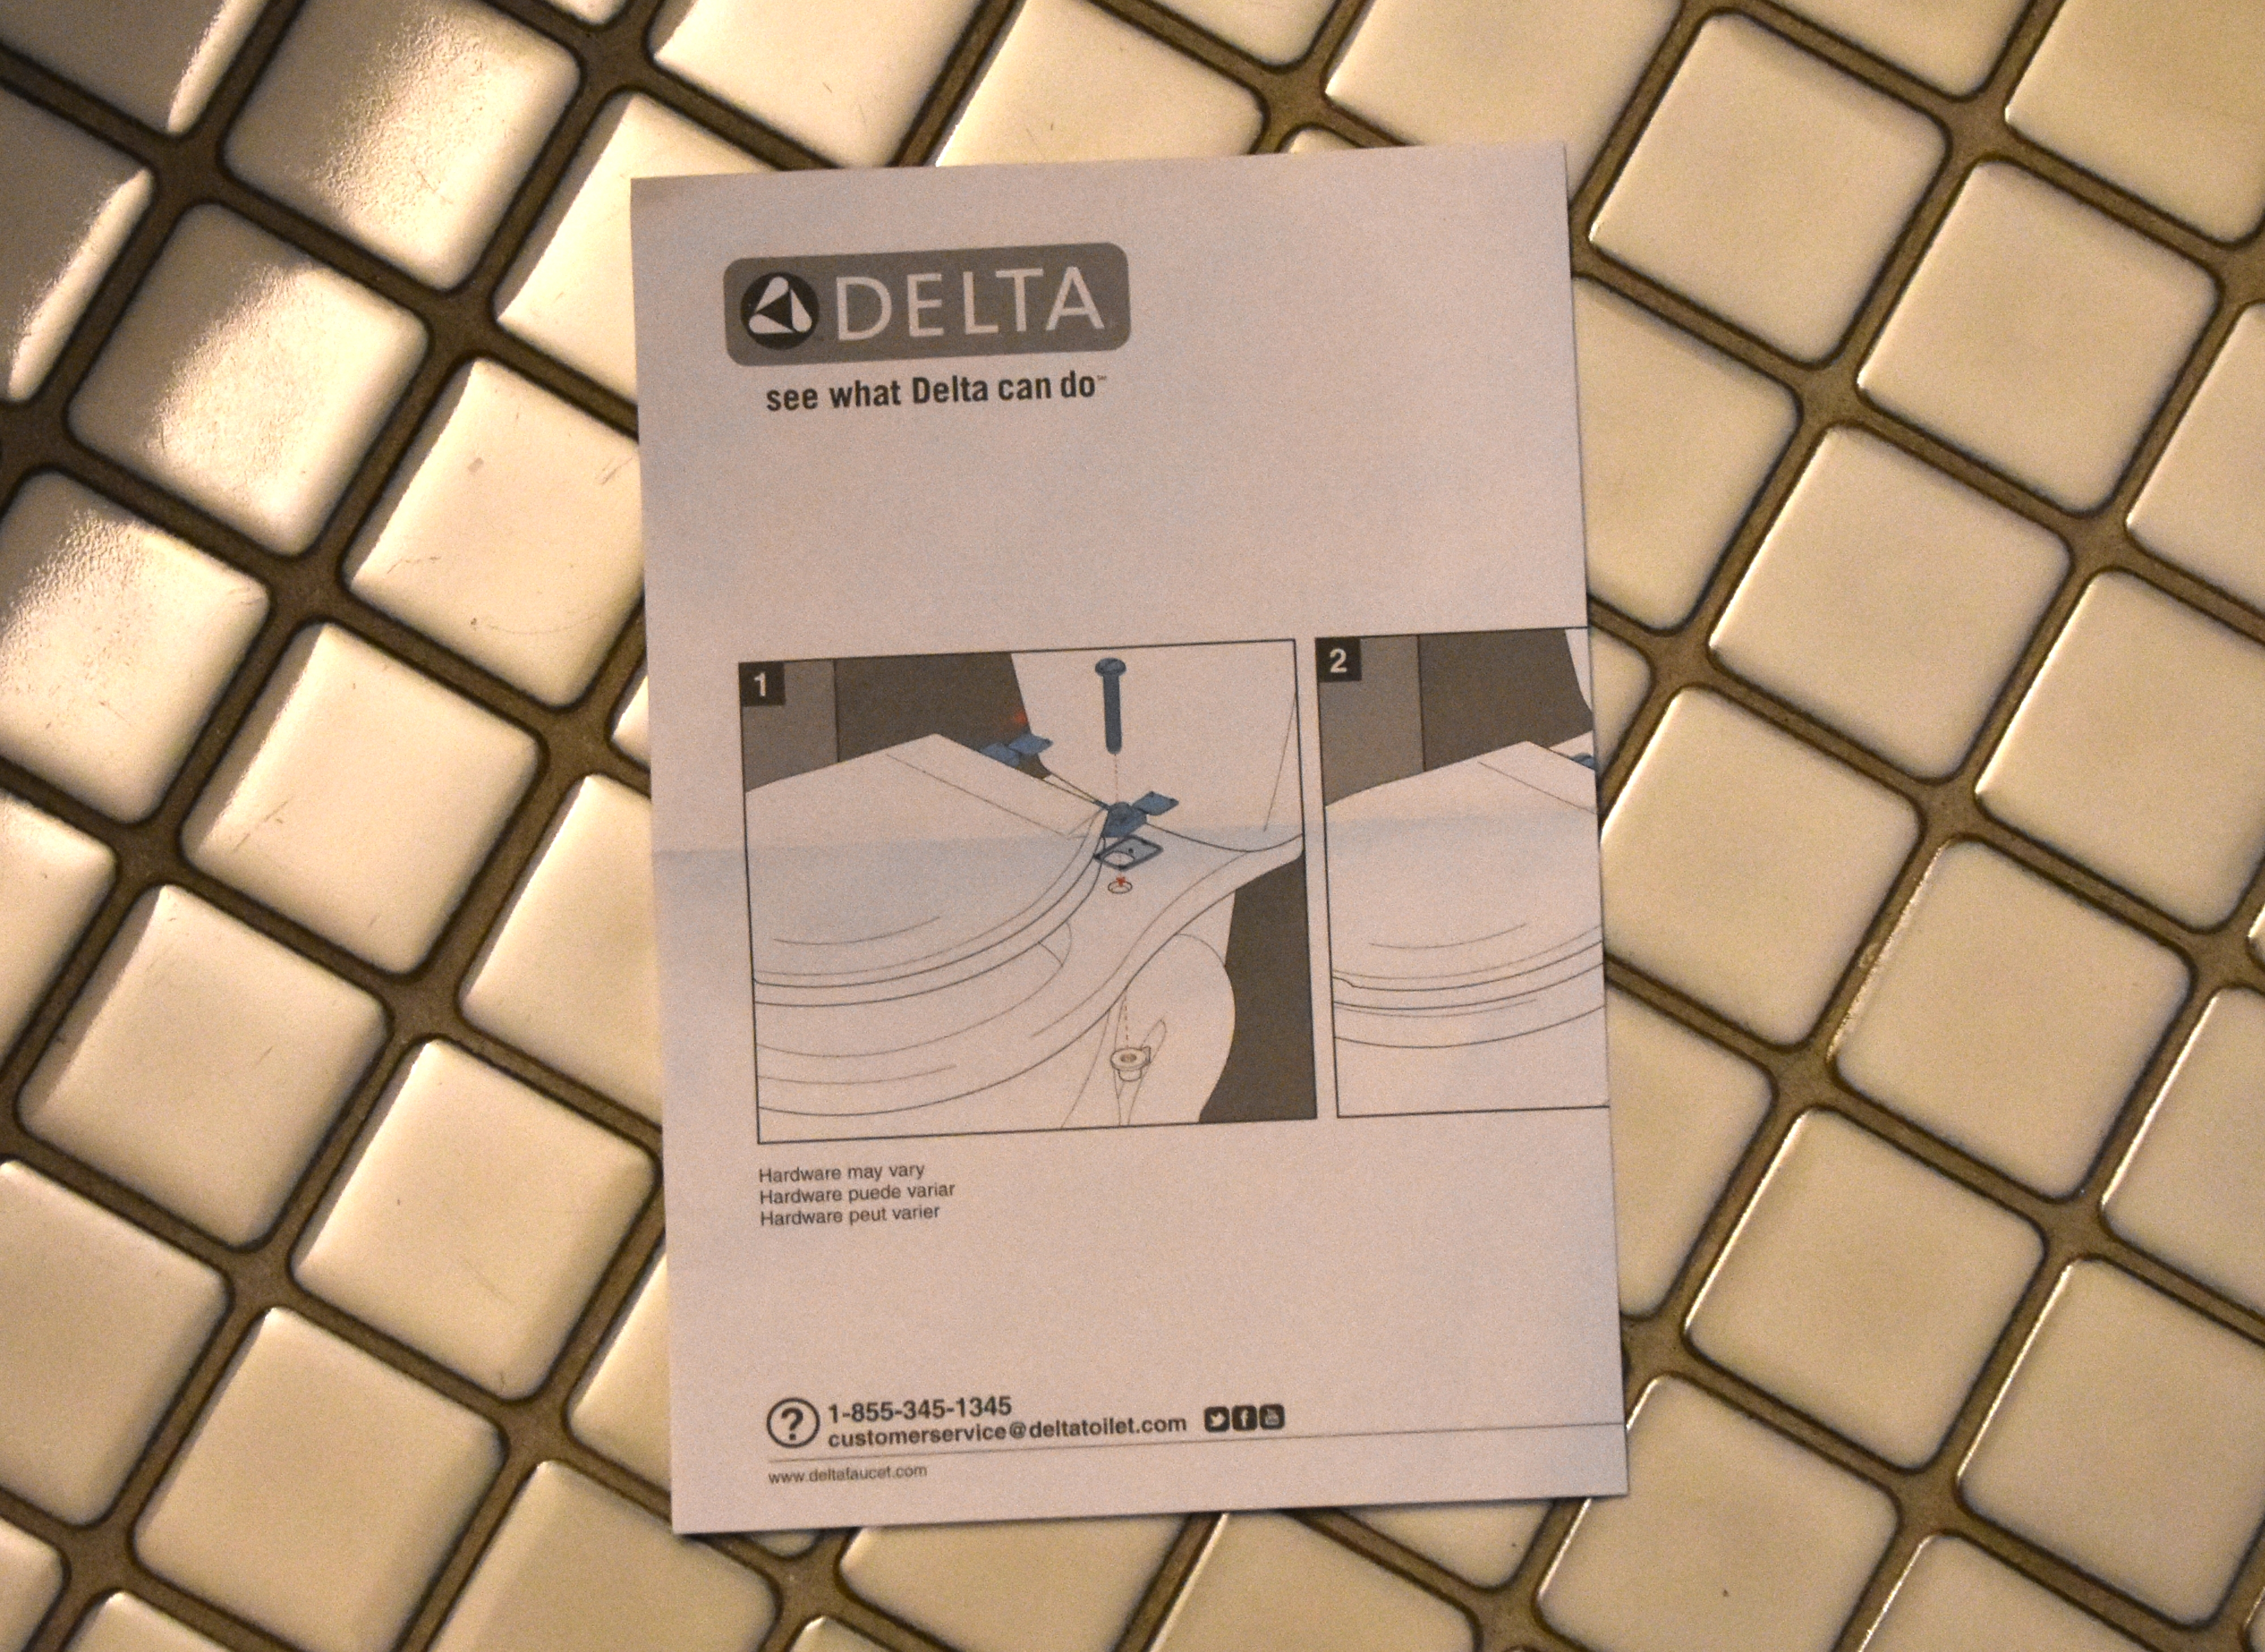
NOTE: Make sure you read the instructions included with your toilet as your model may be different than the one, I bought.
Remove the rags from the drain hole and place the drain flange flush with the floor. Make sure the mounting hardware (aka bolts) is coming through the bottom of the ring facing up. Place the wax ring in the drain hole.
Place the Base
Squeeze a small bead of plumbers caulking, along the bottom of the toilet base where it will meet the floor. Carefully place the toilet base on top of the wax ring and align the bolts up with the holes in the toilet base. Press the toilet base down firmly. Tighten the mounting bolts to secure the toilet in place. Using a level, make sure the toilet bowl is level front to back and side to side. Adjust the mounting bolts and/or apply pressure where needed, until the toilet is level.
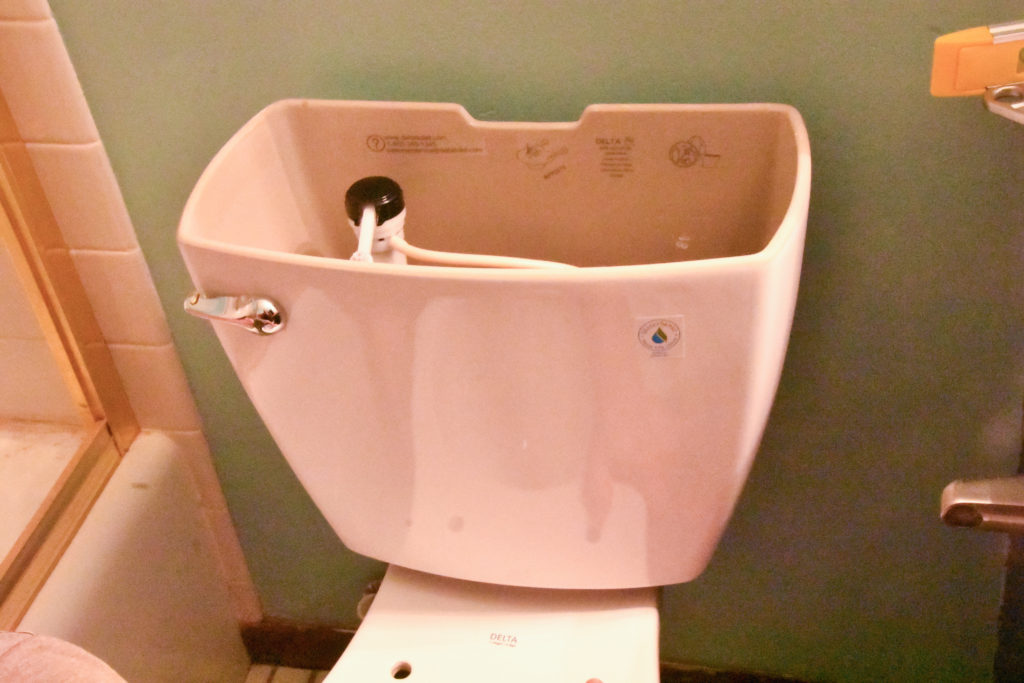
Now the tank, align the tank seal with the nut on the bottom of the tank. Place the tank on the bowl and tighten the nuts. Make sure the tank does not rock!! If it does, you will likely have a leak.
Connect the Water
Attach the plumbing pipe from the wall to the toilet tank. Using a wrench tighten the connection between the pipe and the toilet tank!!
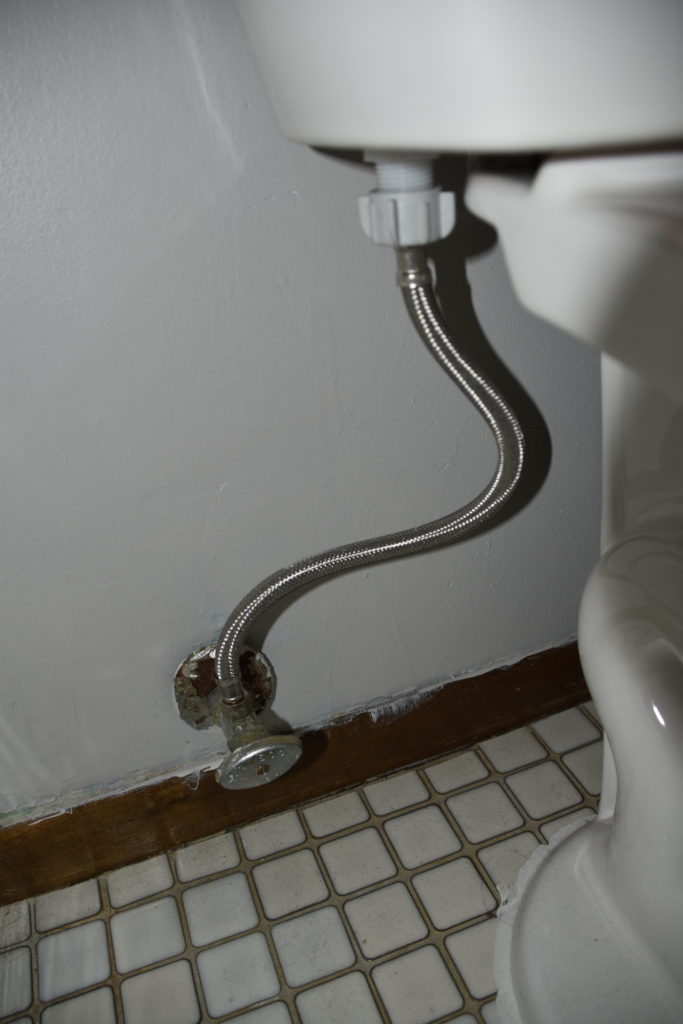
Note: if your old toilet was a standard height and your new toilet is taller, your plumbing pipe may need to be replaced. Yes, I learned this too the hard way. Much like the level…I needed to run to the store again for a longer pipe.
Attach the Seat
Follow the instructions provided with the toilet to install the toilet seat and place the lid on the top of the toilet tank.
Place a small bead of plumbers caulking around the base of the toilet where it meets the floor. Using your finger or a rage, smooth the caulking. Let sit for 24 hours before exposing to water.
Check for Leaks
Before you use your new toilet, turn the water back on and make sure there are no leaks. Flush a couple of times to also make sure there are no leaks.
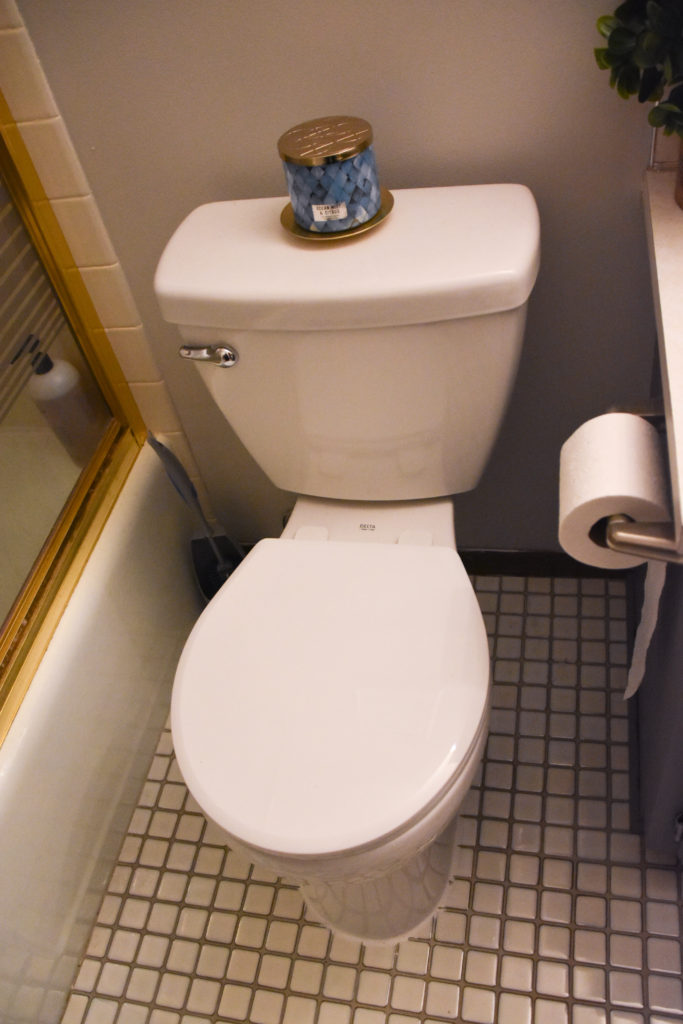
I know a new toilet is not overly exciting but this one was a pain point for me since I bought my house. Having it finally replaced excites me and now I’m ready to tackle the next project on my home makeover list.
What tips do you have for someone who has never replaced a toilet before?
I am not a professional in any of the topics discussed on Adventures at Home and Away. All comments made are my personal opinion and should not be used as professional advice. Photography on Adventures at Home and Away is protected by copyright and licensing agreements.

